Category Archives: Math

Milk Shop

Photo Jun 05, 8 43 22 AM

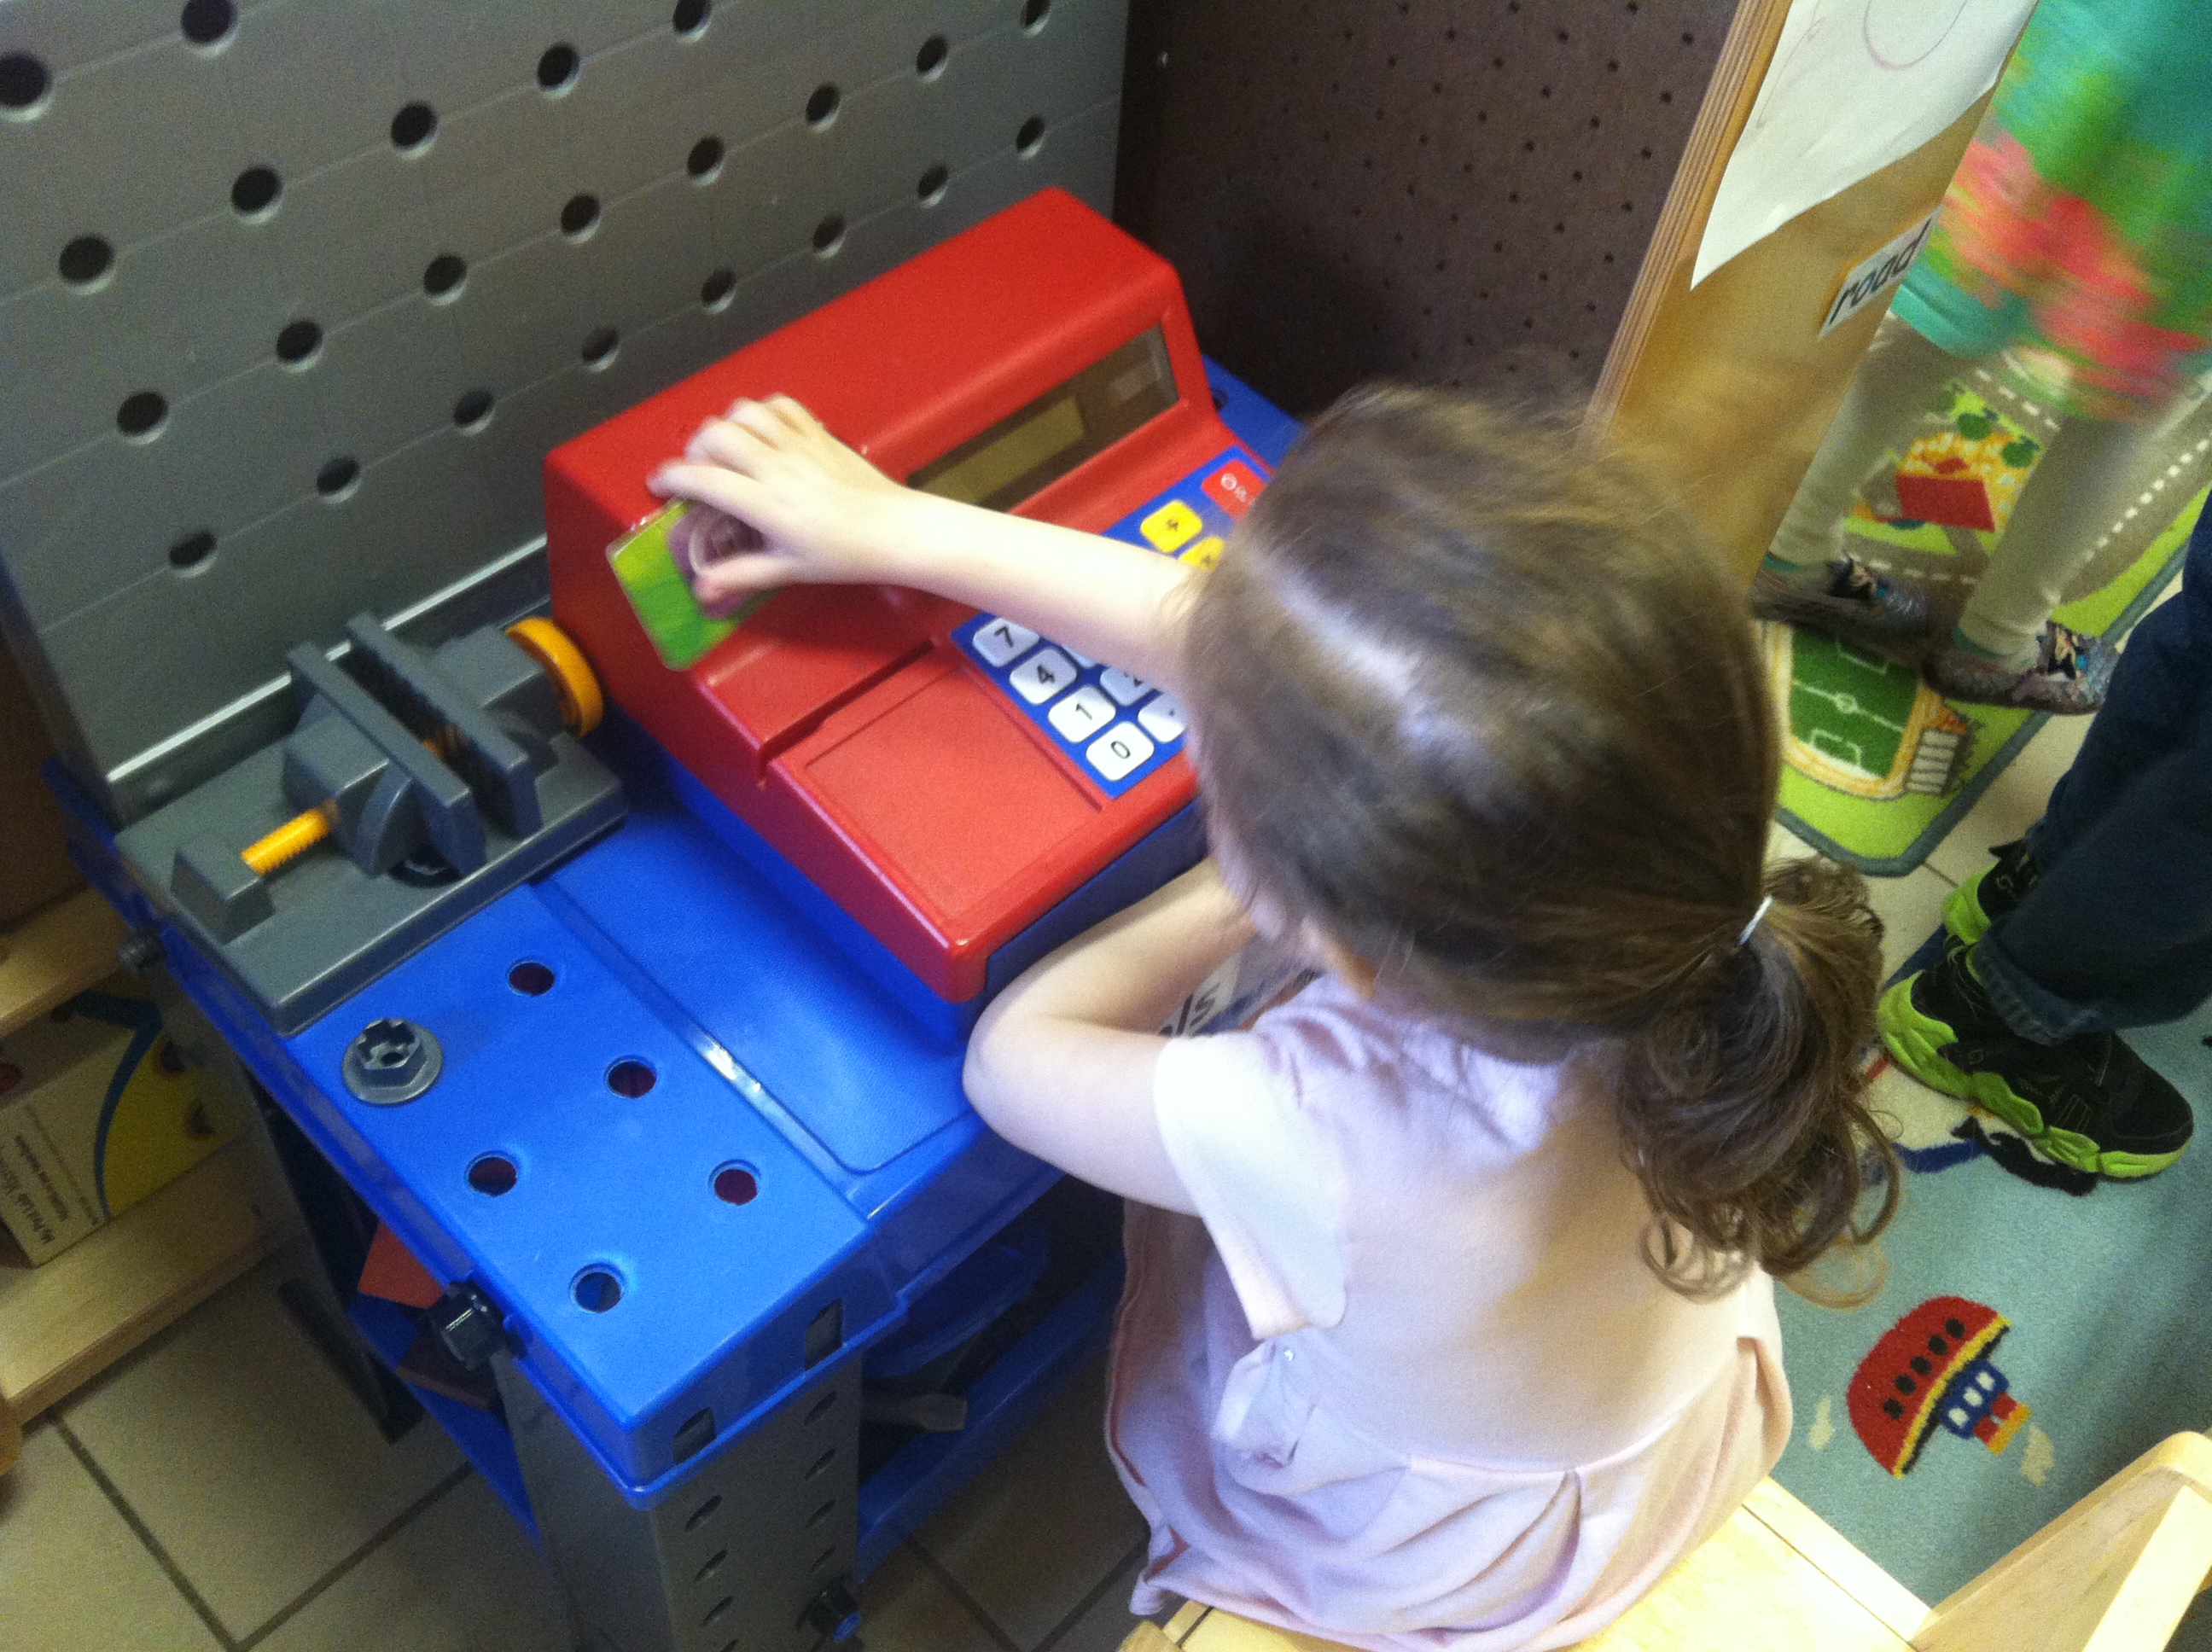
One day this spring, my students took it upon themselves to organize an especially elaborate play scenario. It began when a student brought me a cup of (imaginary) milk. I playfully asked, “What is this? A milk shop?” to which she replied, “Yes, it is!” Soon, most of the class was participating. This sort of thing happens all of the time, of course. But this particular episode was remarkable for its complexity and for the extent to which students organically incorporated lessons from throughout the school year.

For one thing, everyone behaved with outstanding kindness. The usual leaders emerged, as expected, but they were welcoming of their peers’ ideas. I didn’t hear anyone reject anyone else’s suggestions. At one point, I heard a student ask, “Do you want to make a sign?” Often, children are inclined to make more commanding statements like, “You make the sign.” But our students are gradually learning to use more considerate language. In another instance, a student realized that one of her friends is allergic to dairy and therefore decided that she should sell almond milk, too.

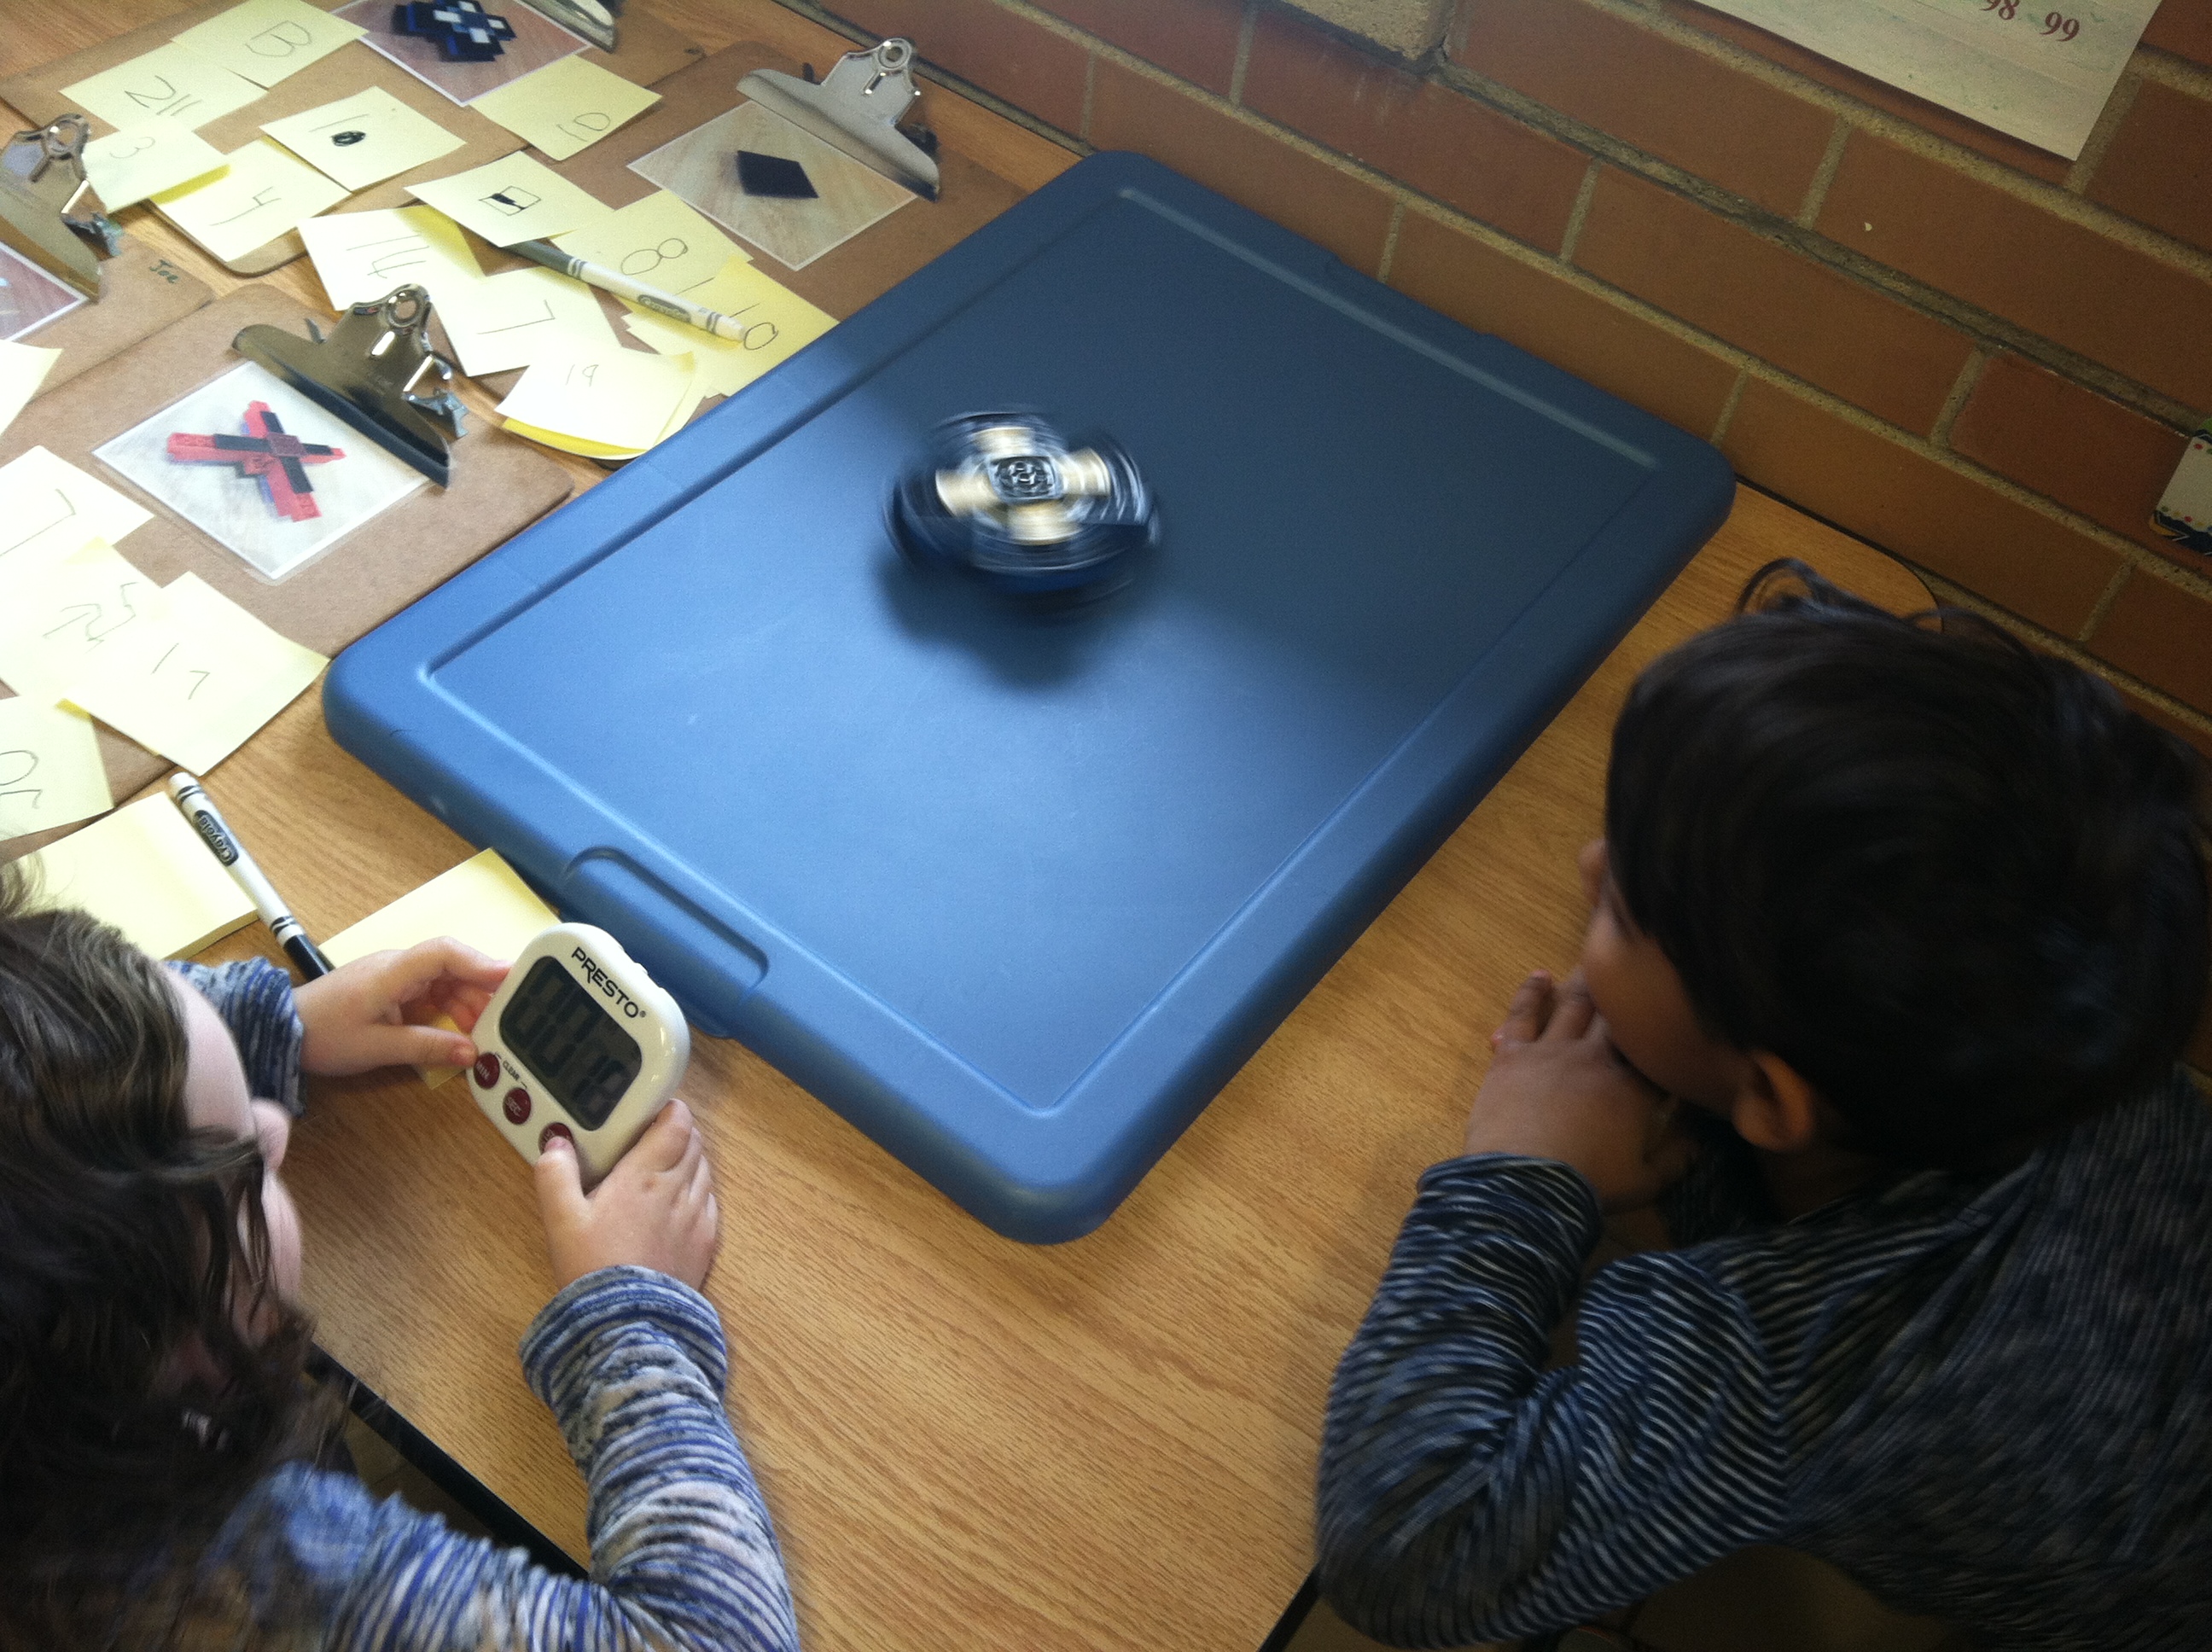
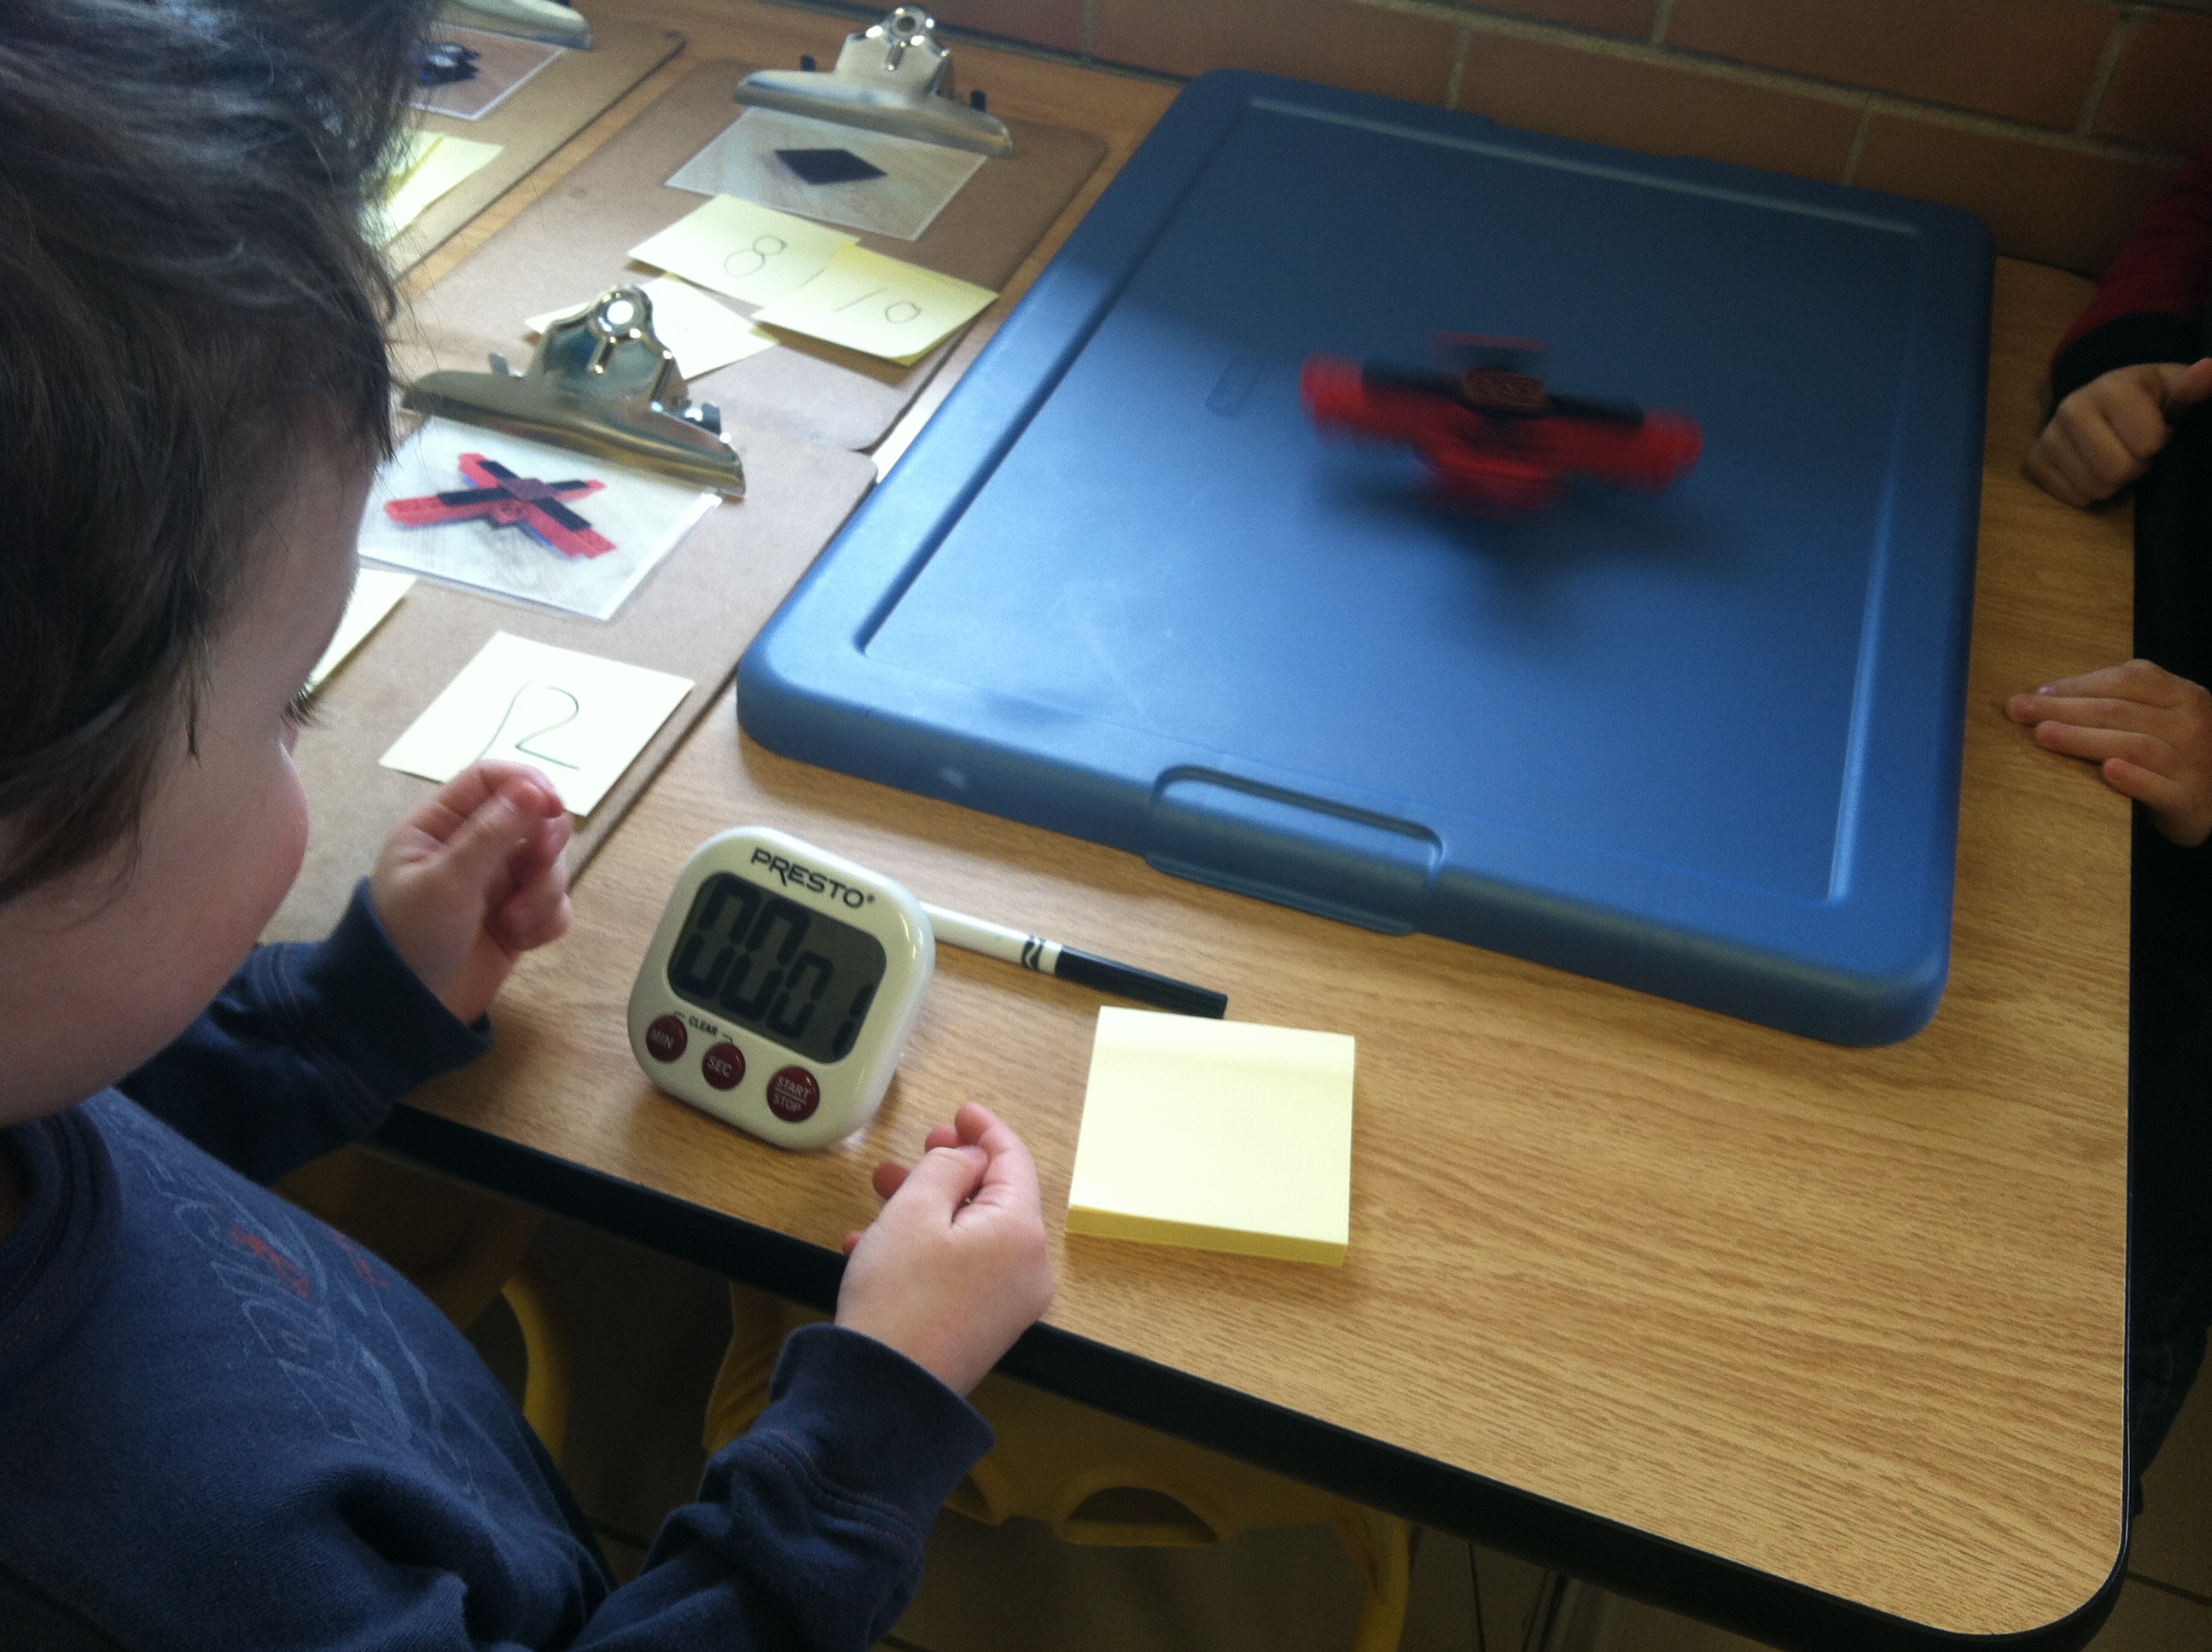
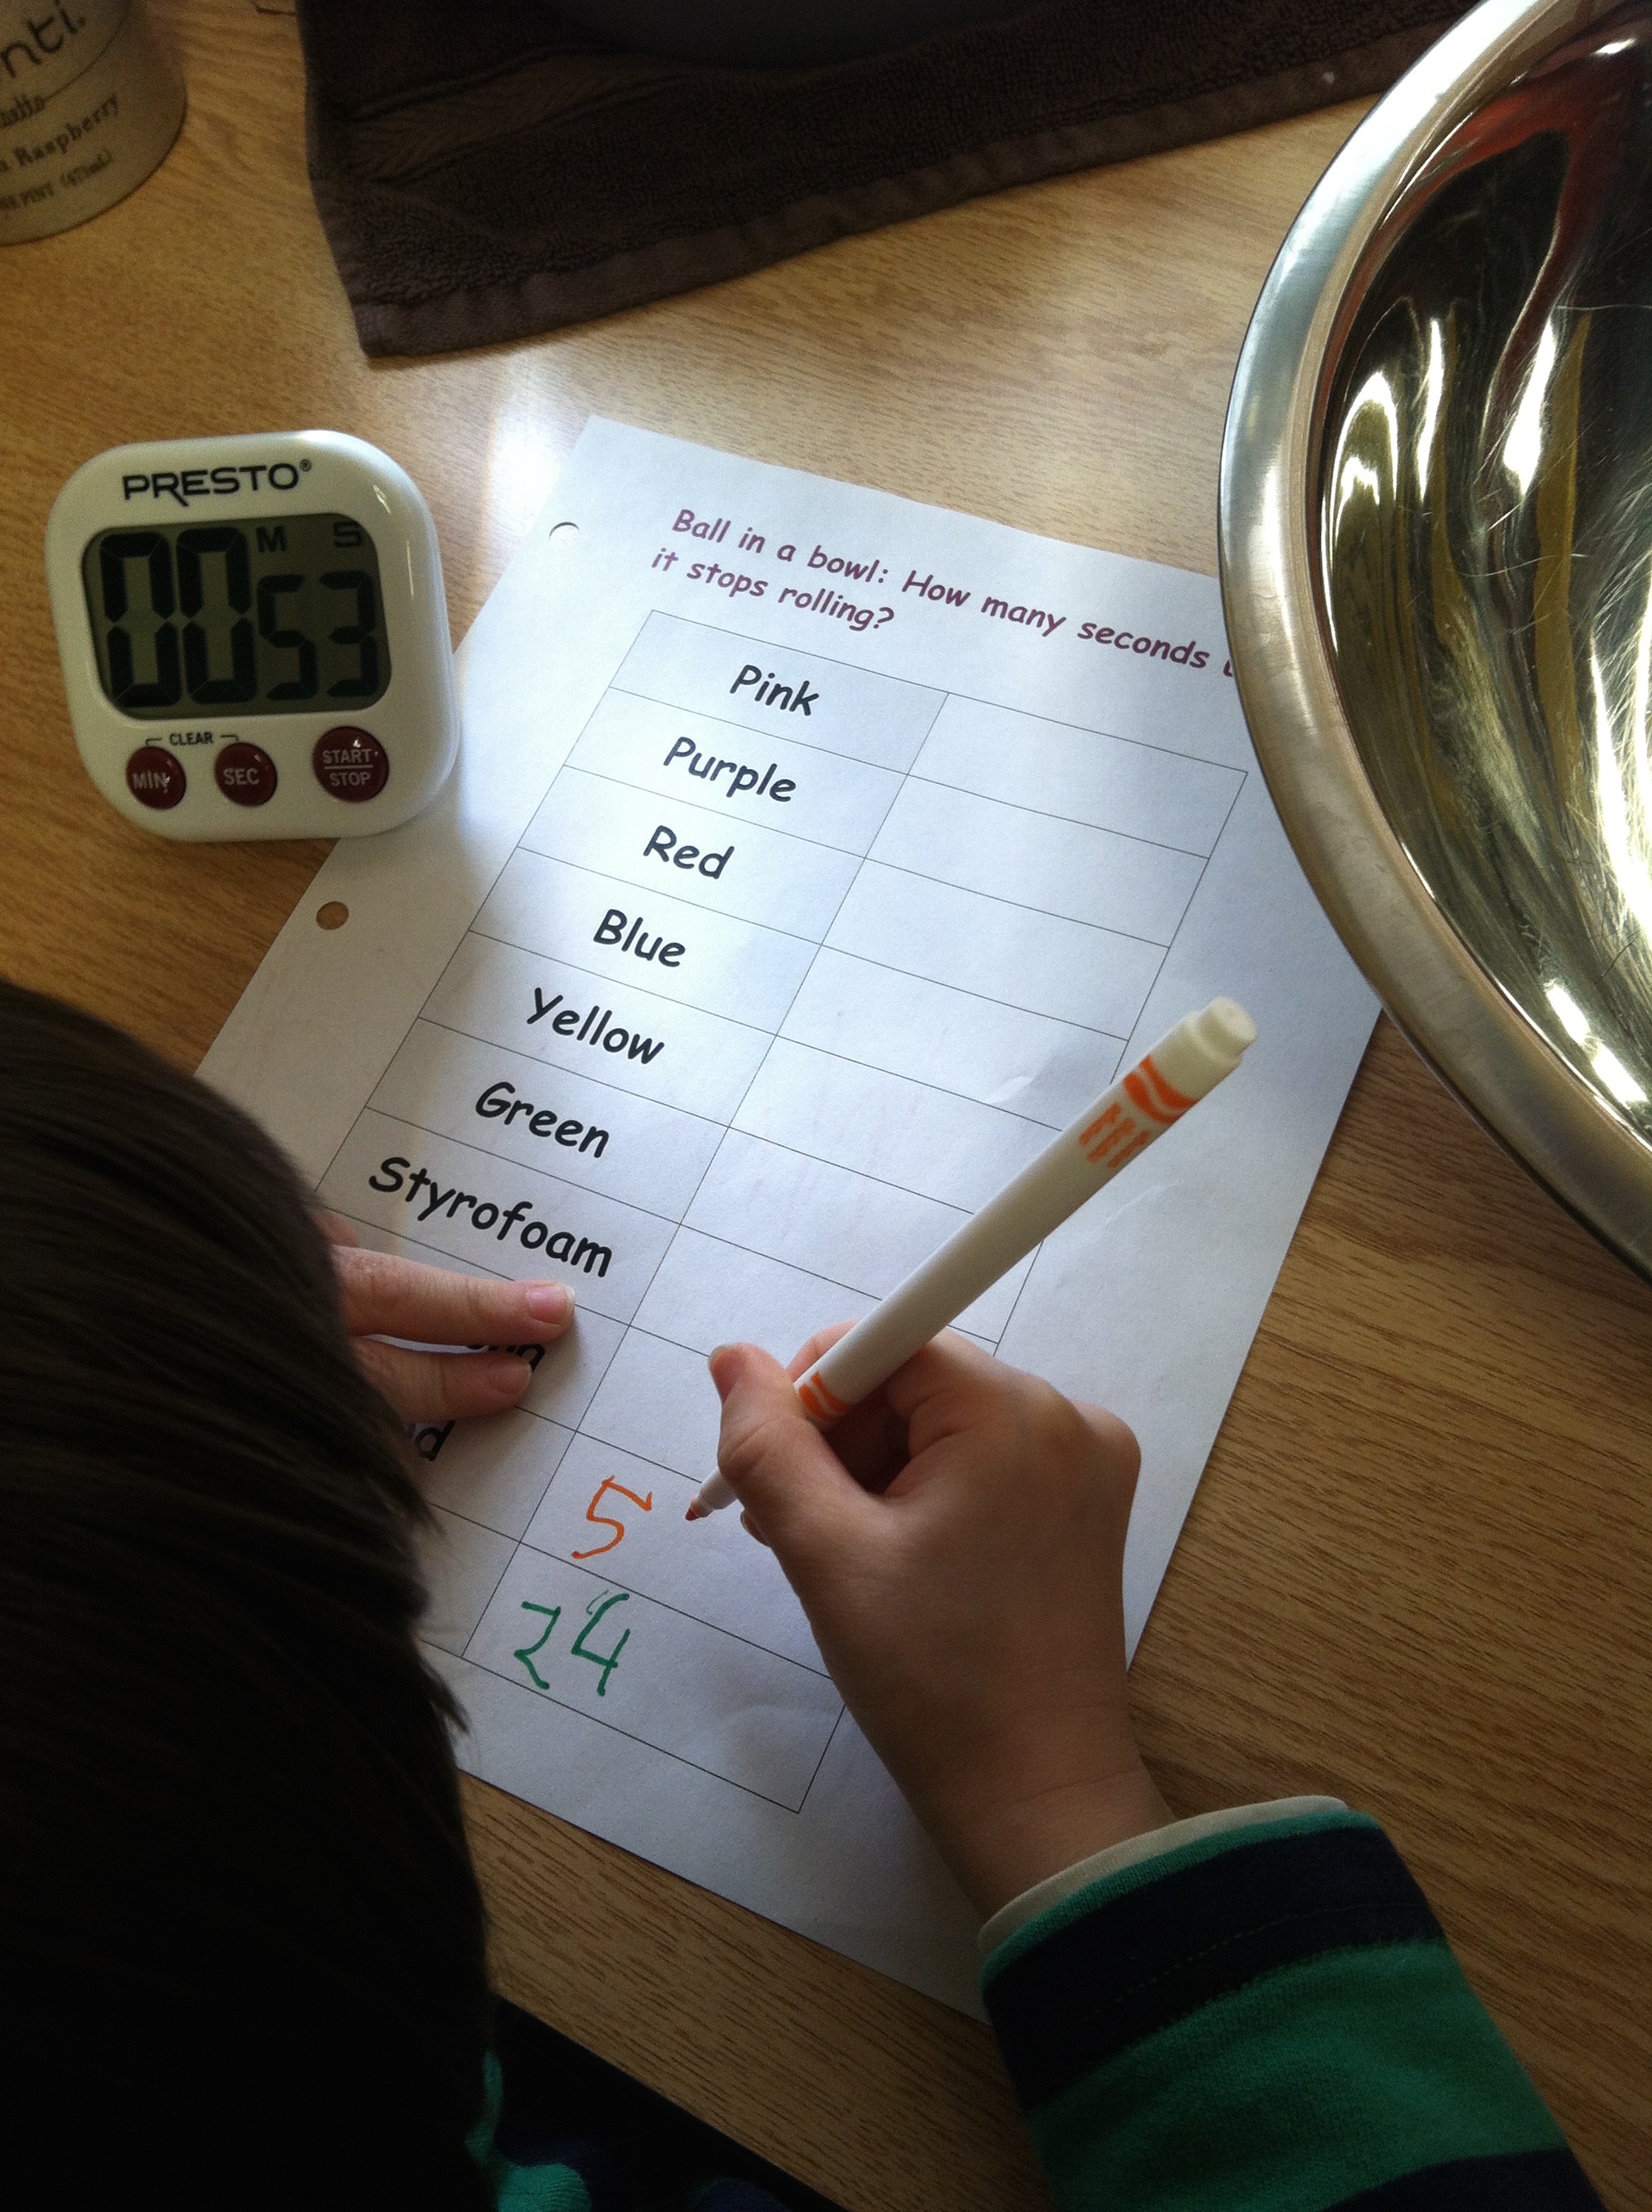
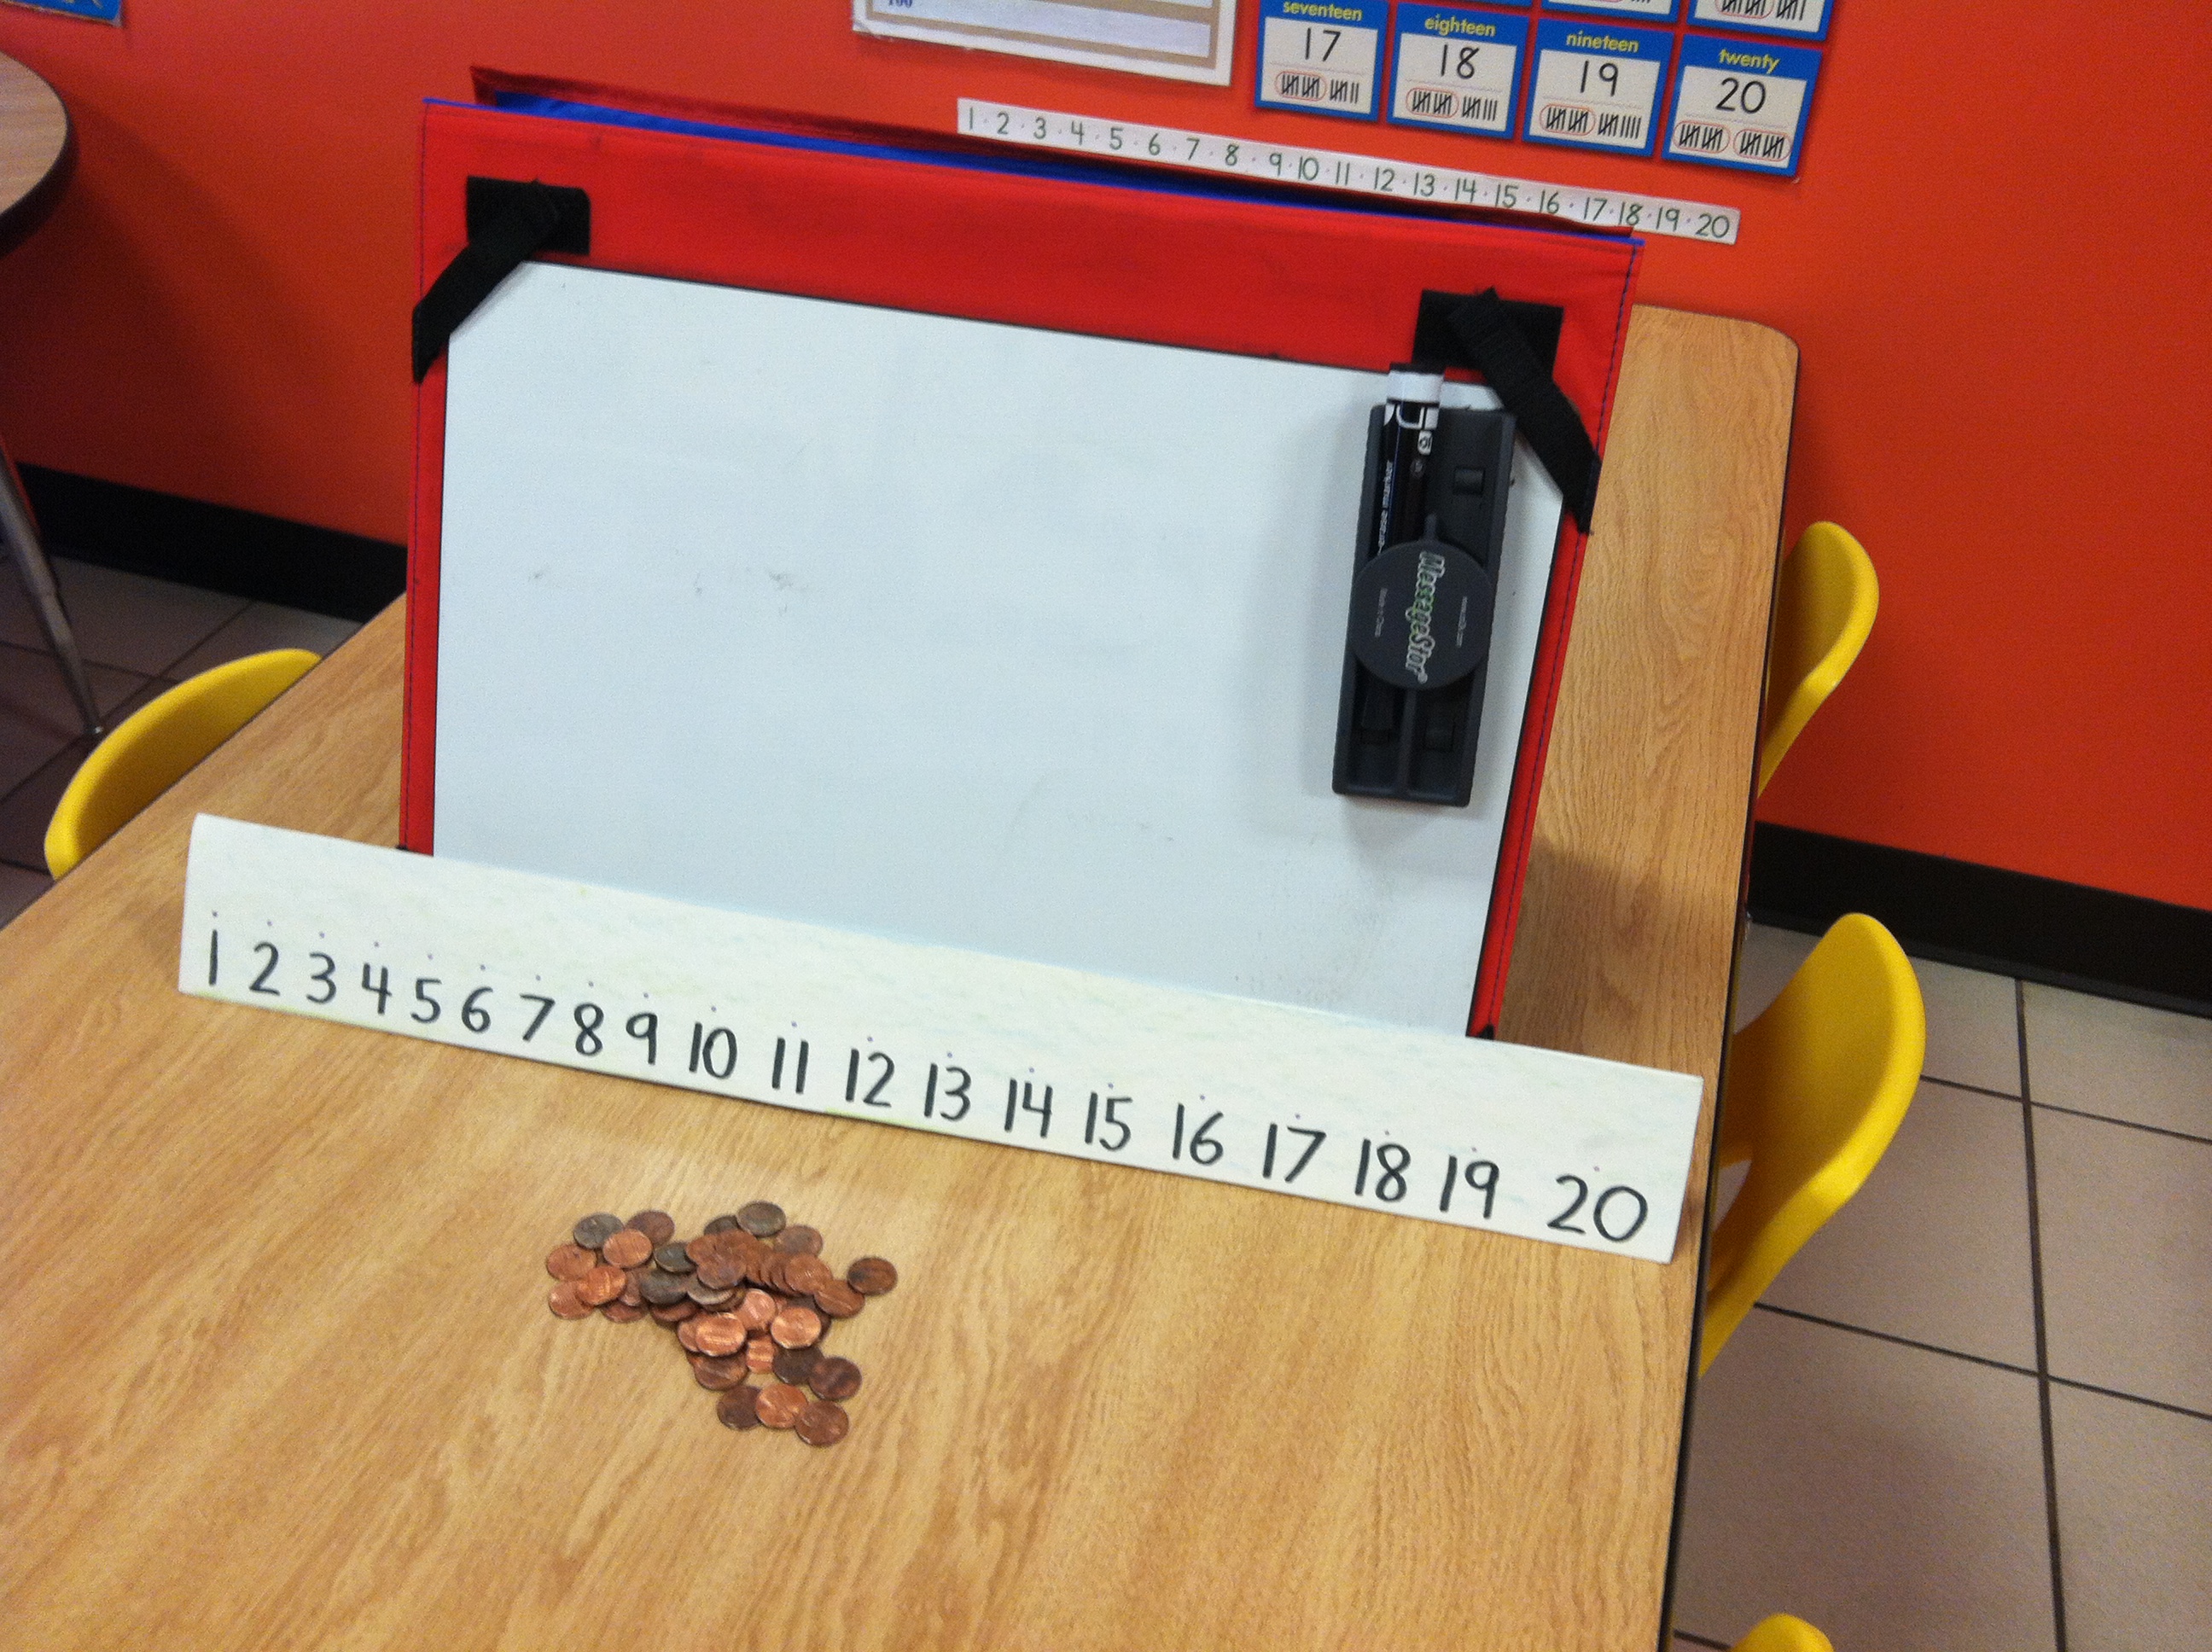
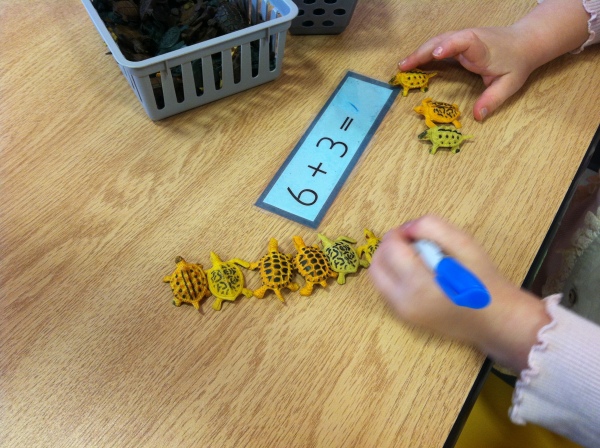
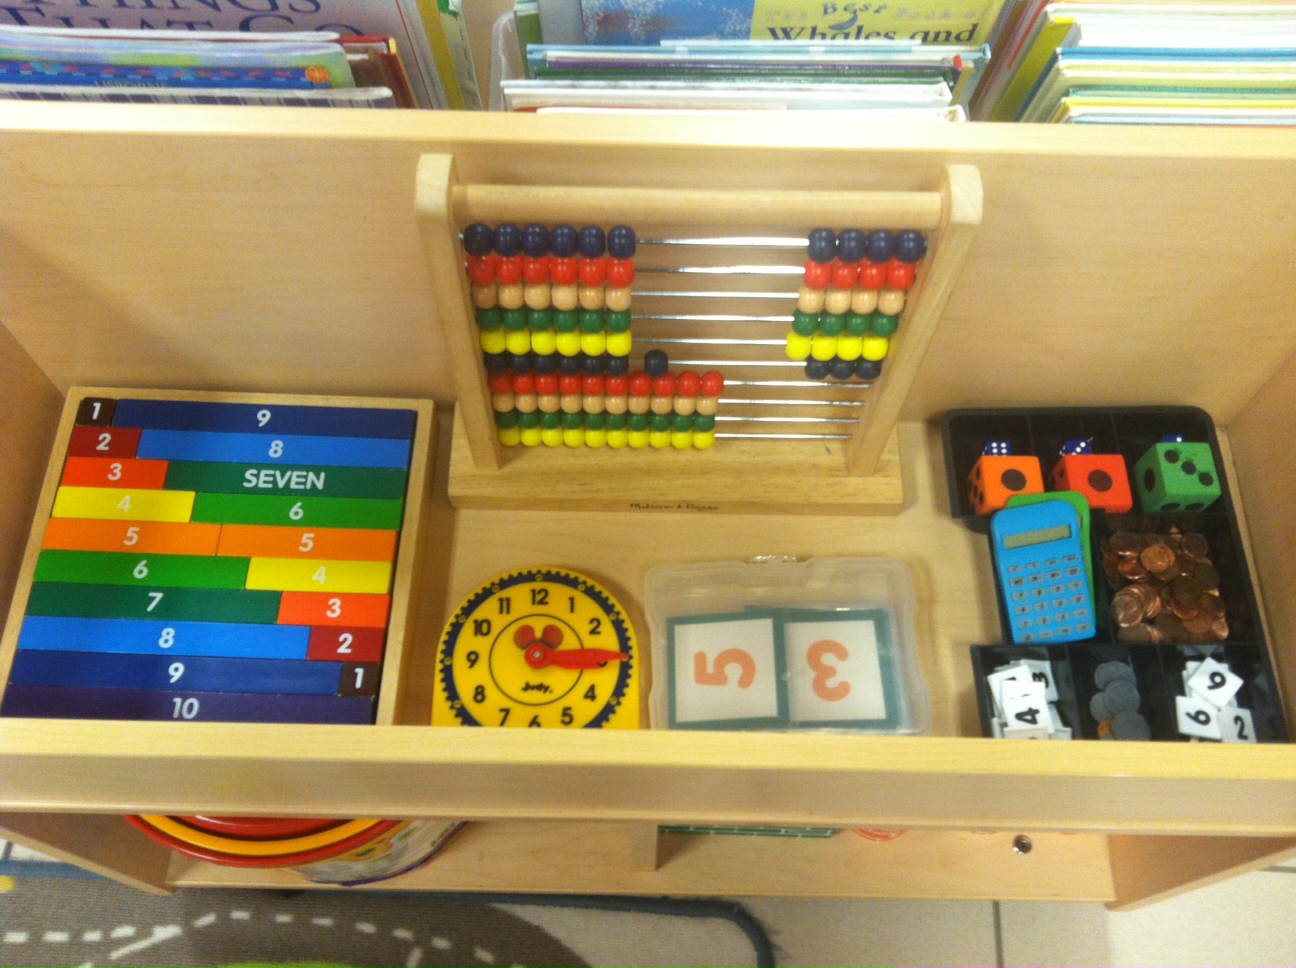
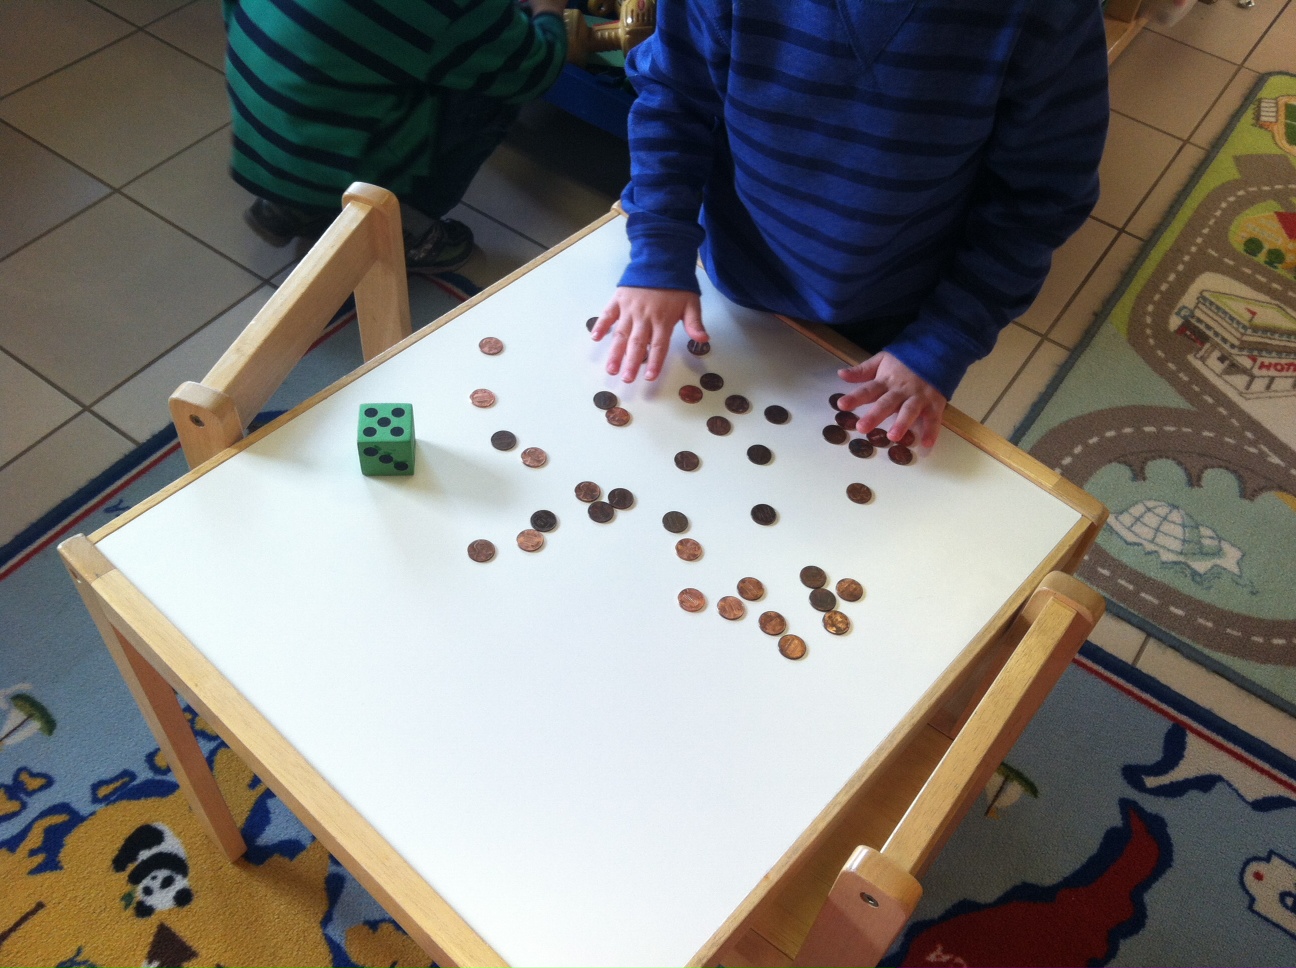
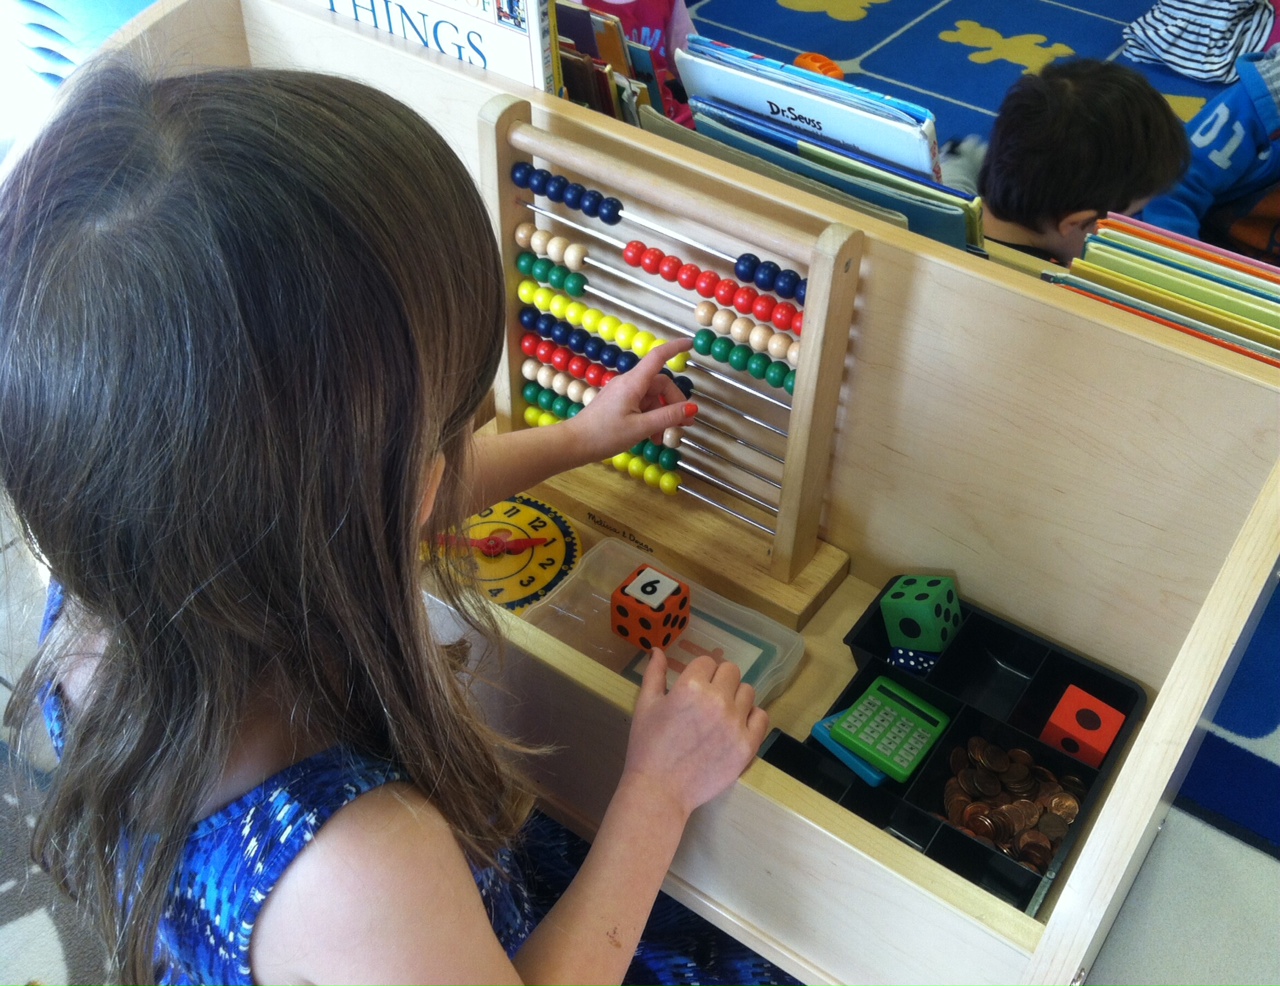
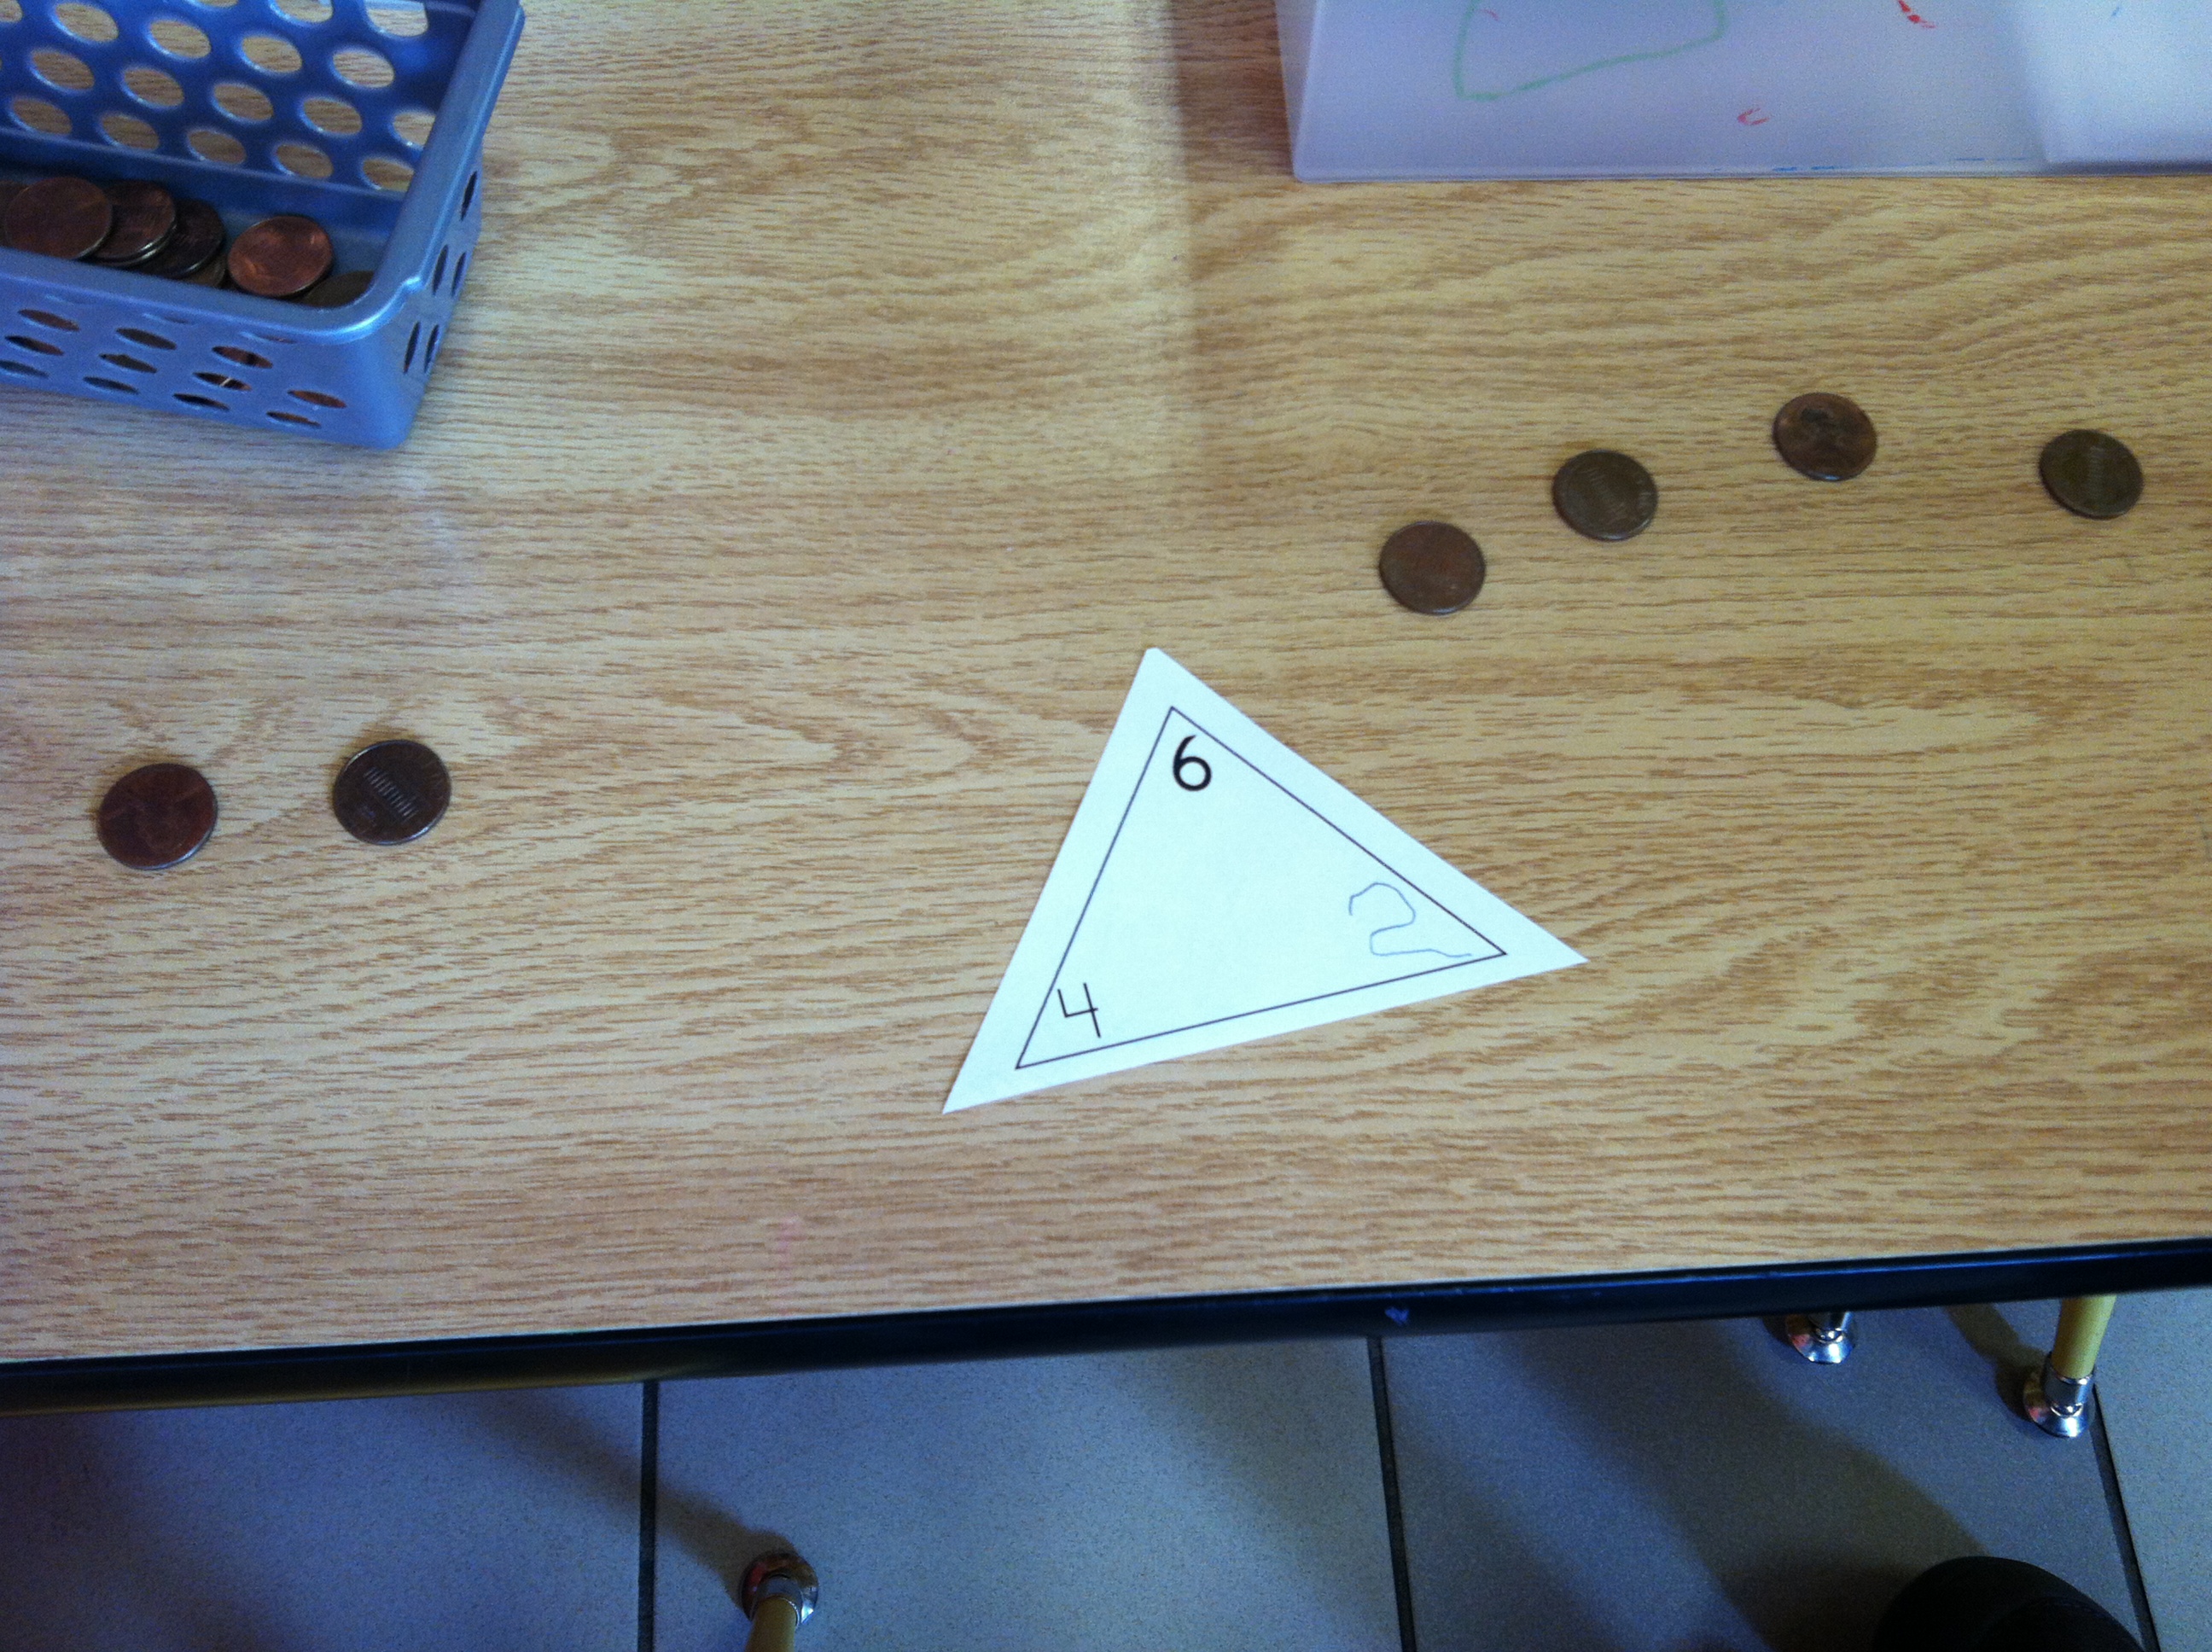
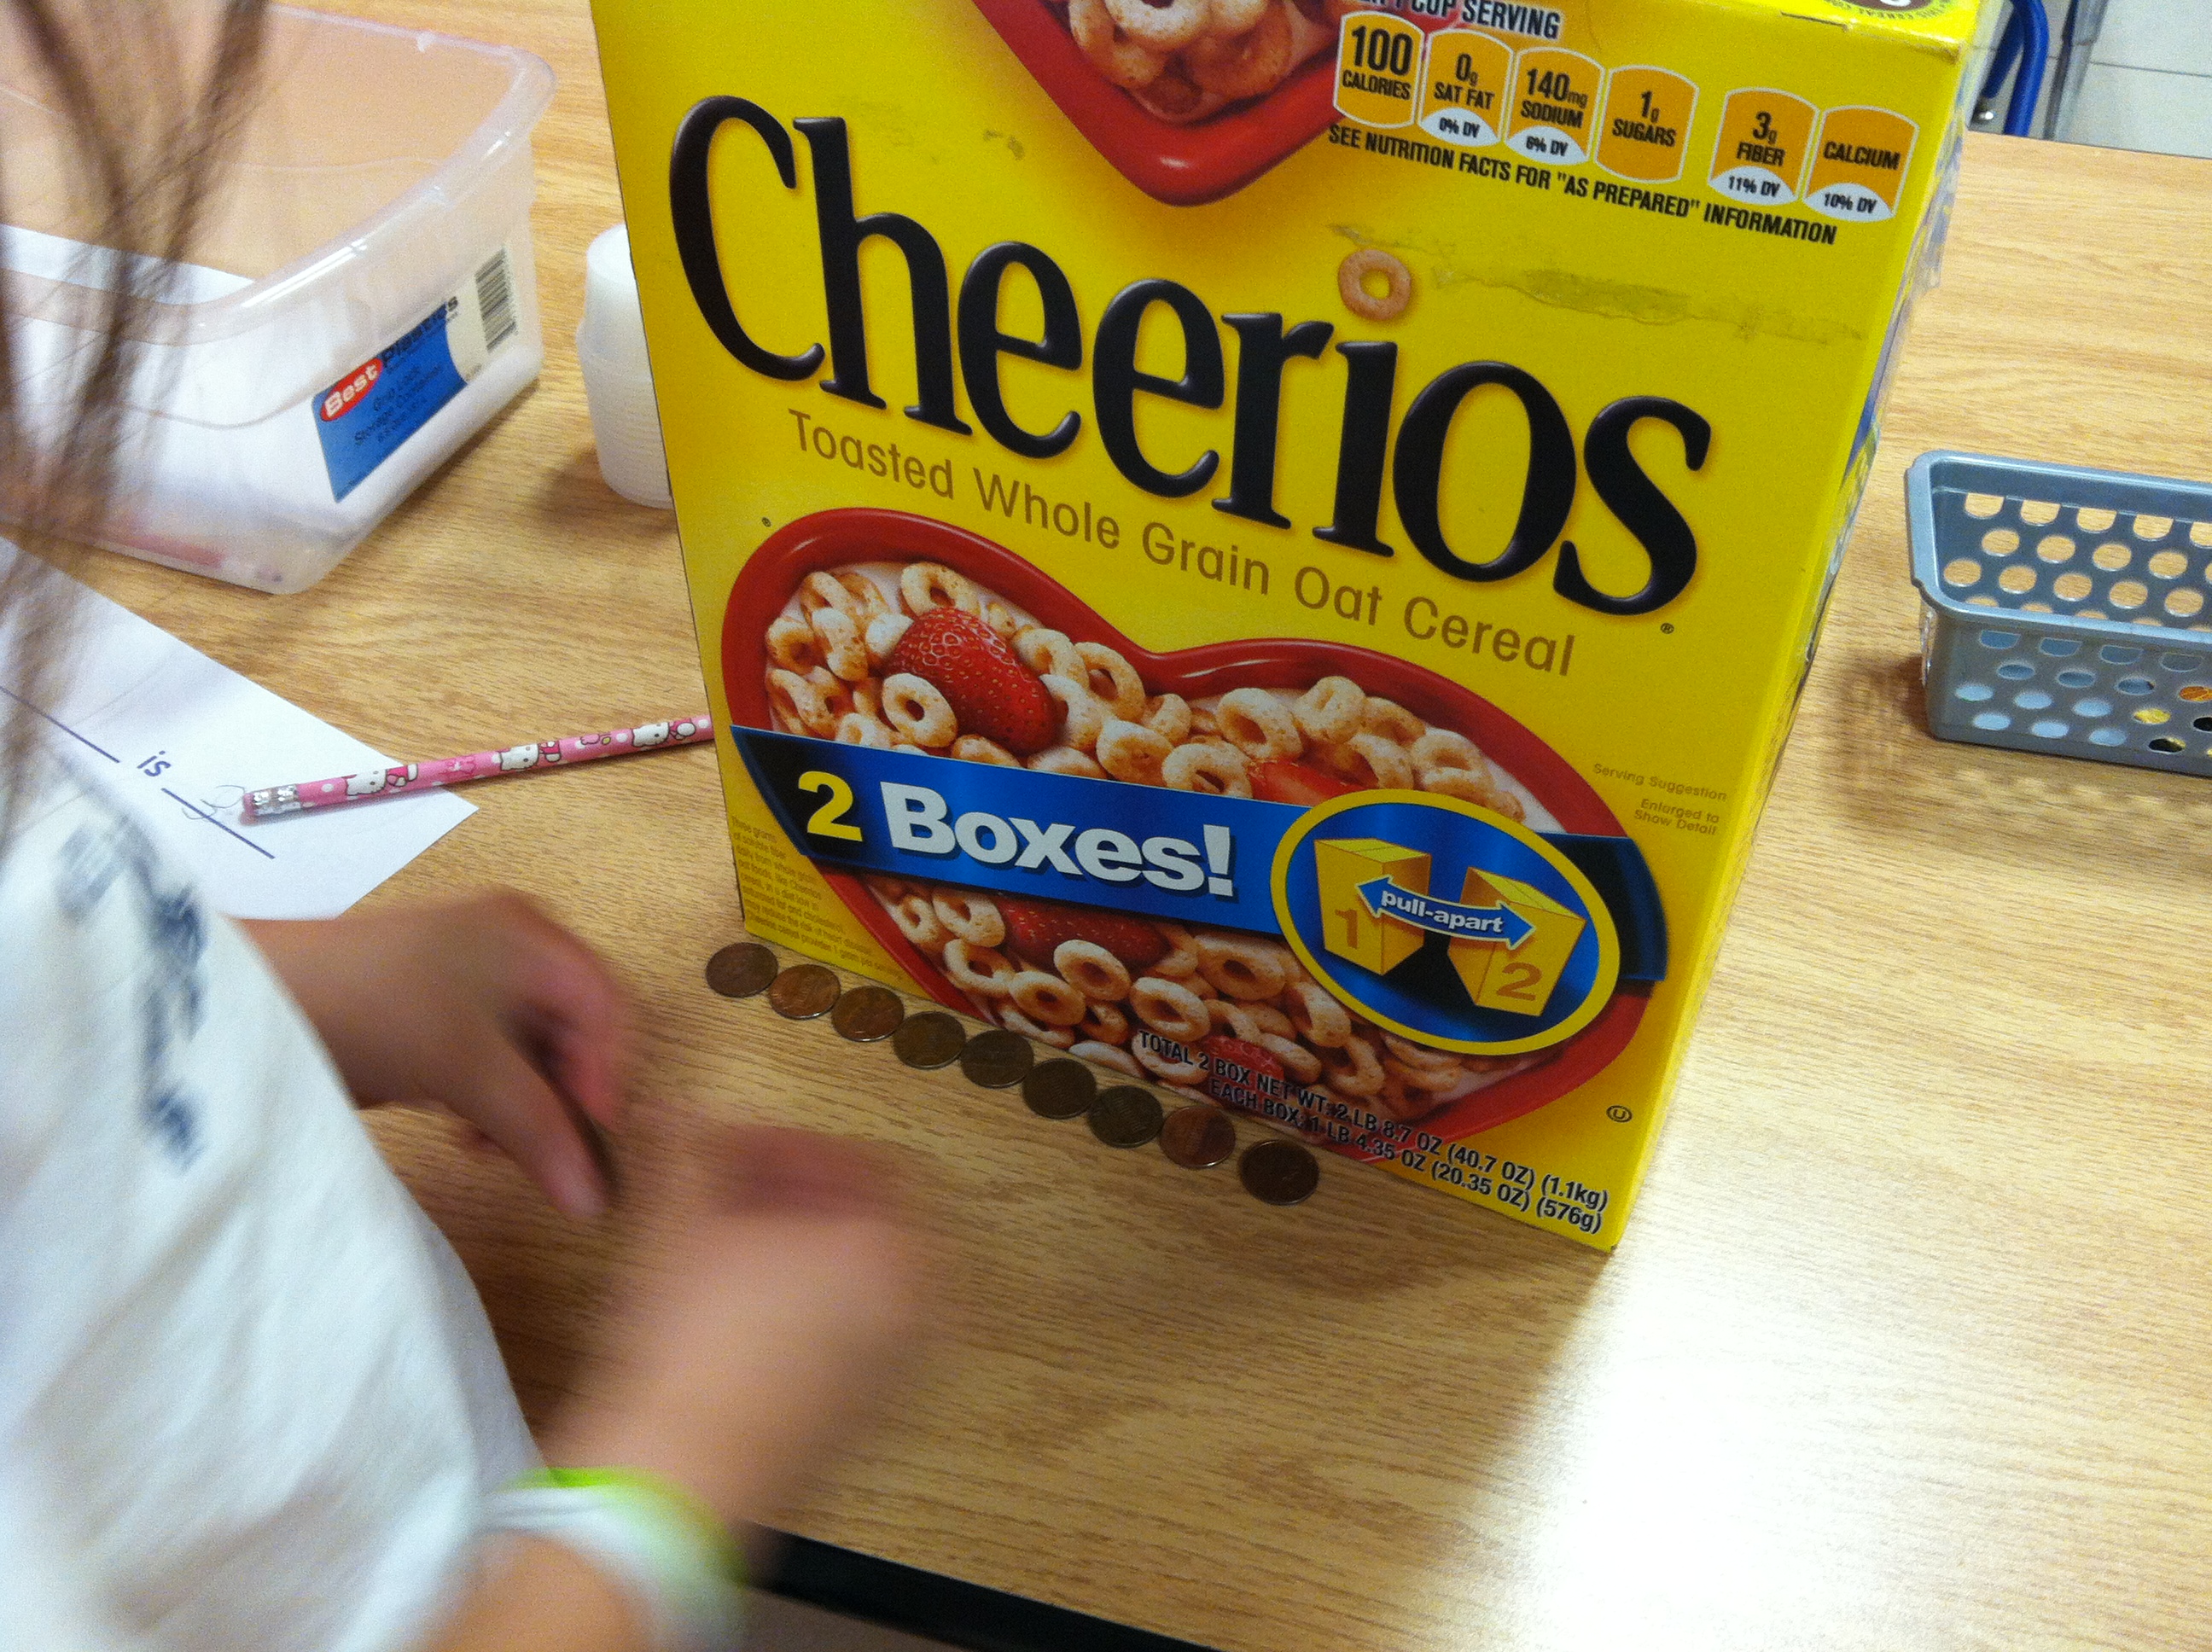
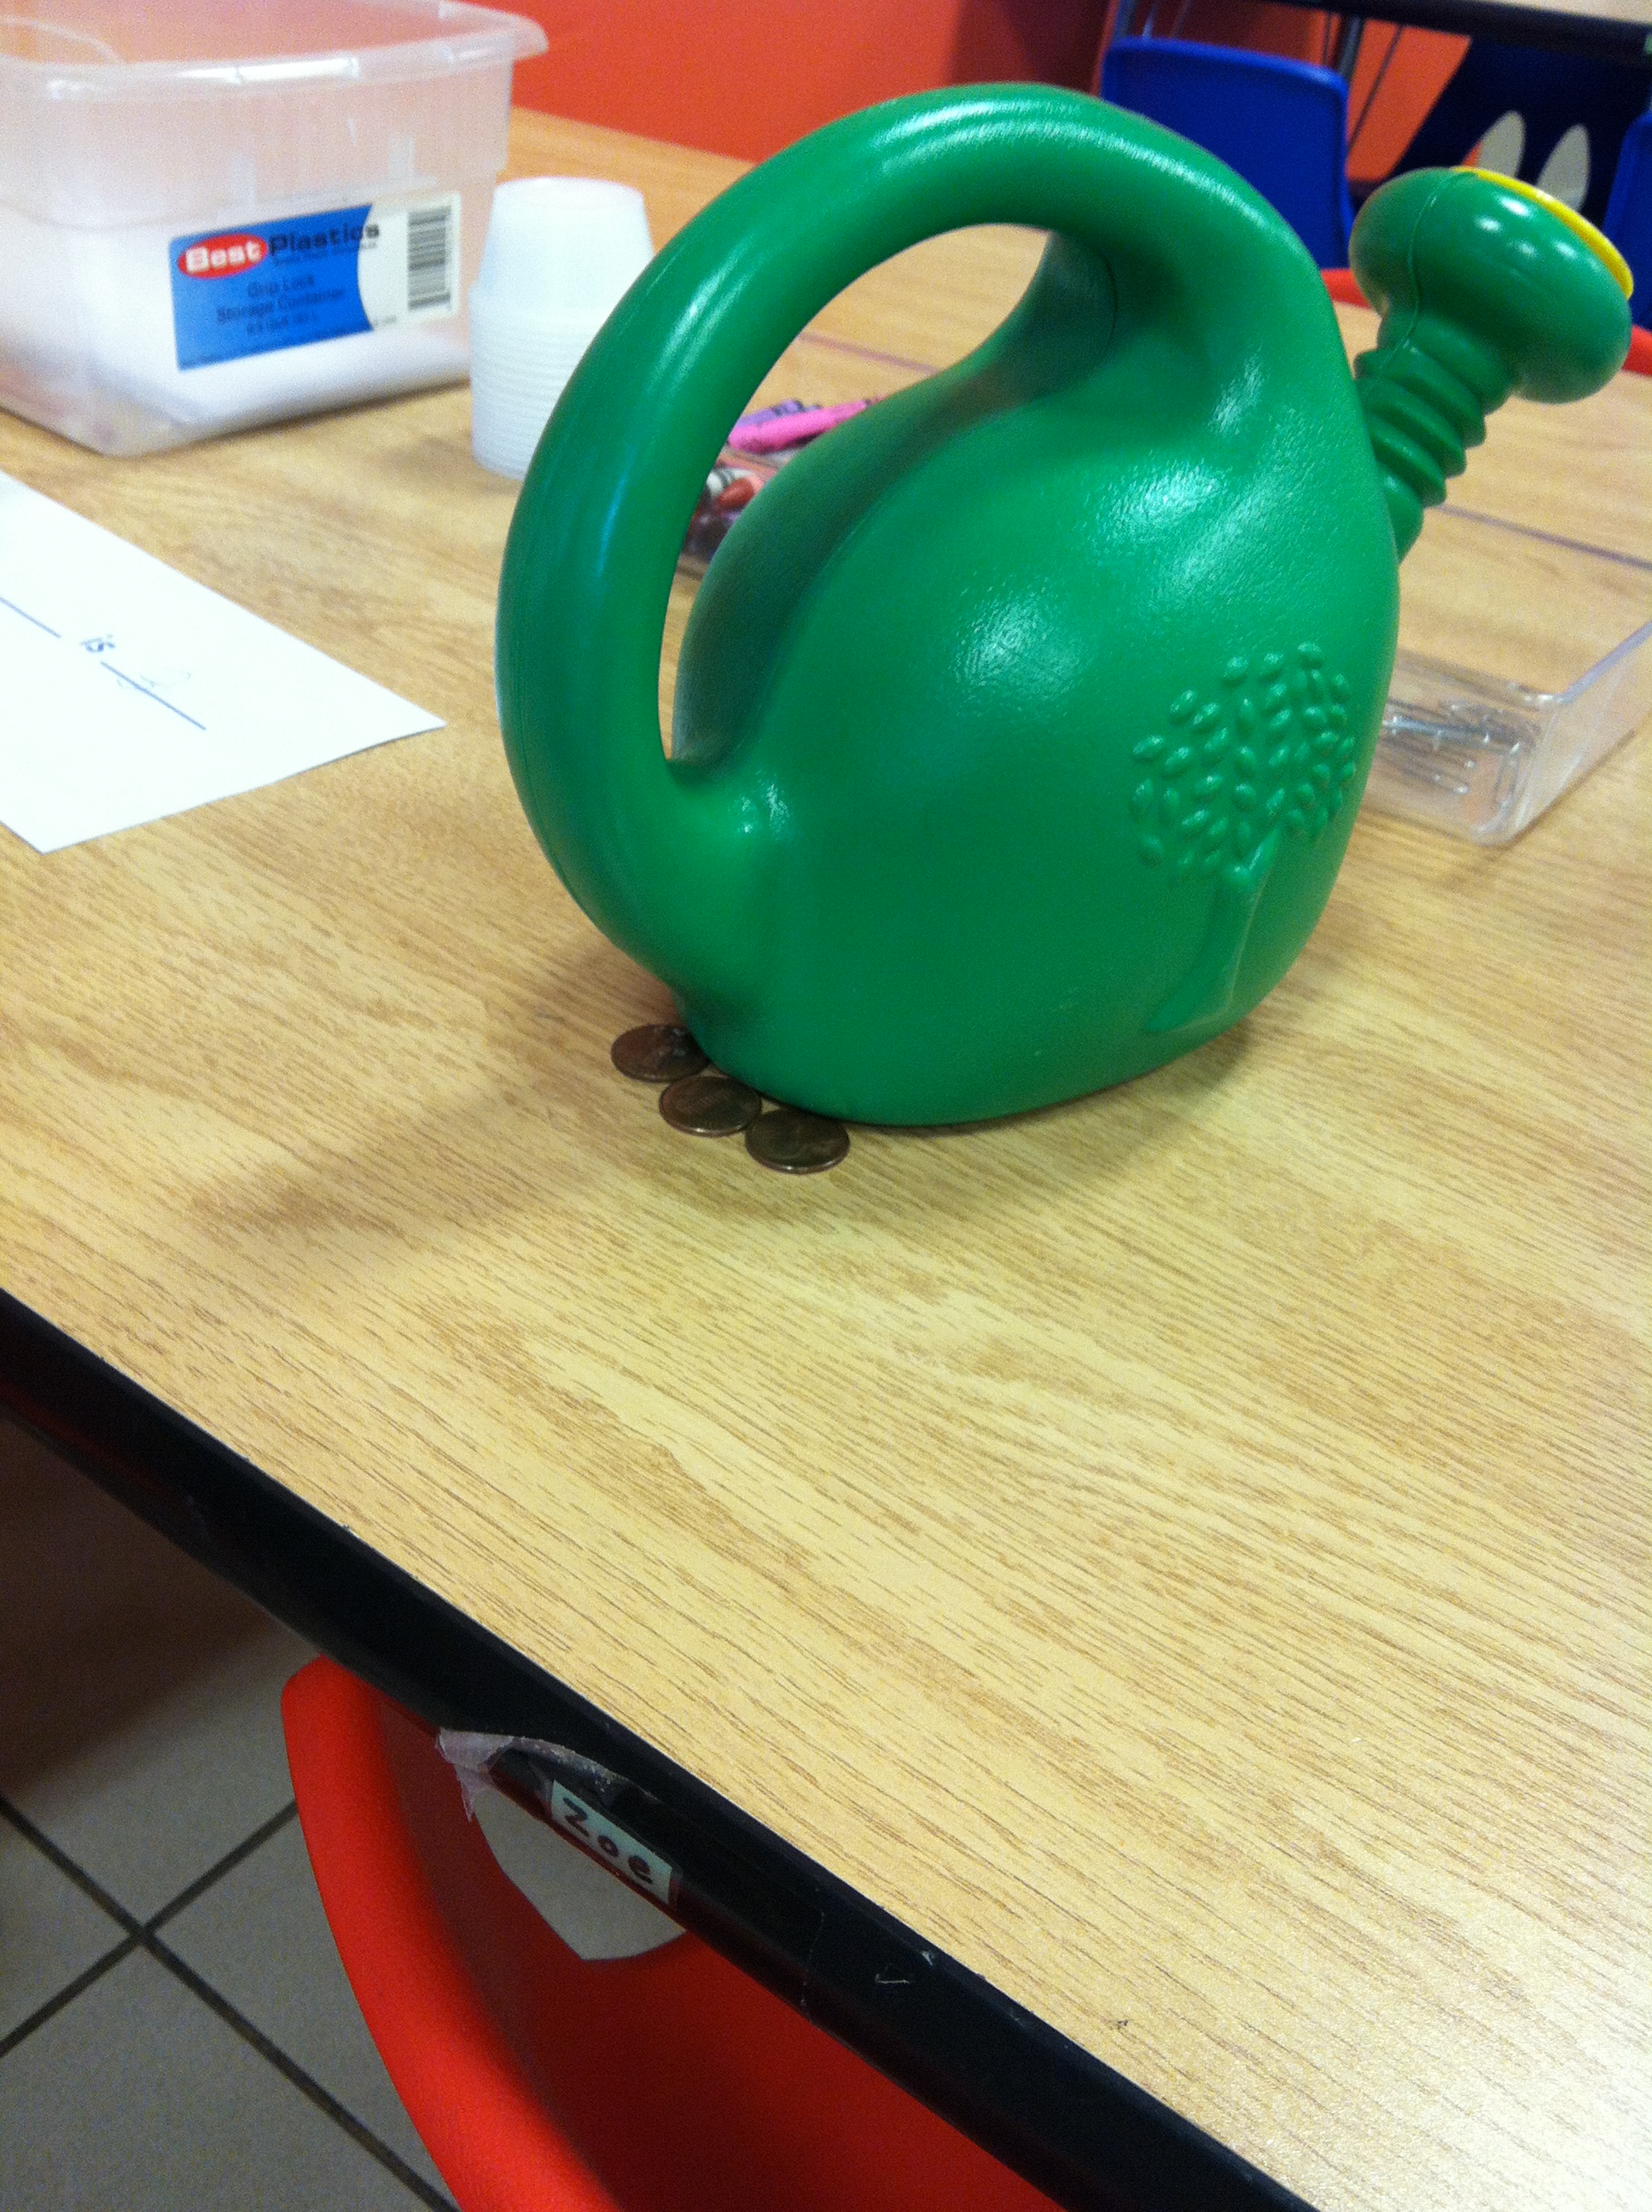
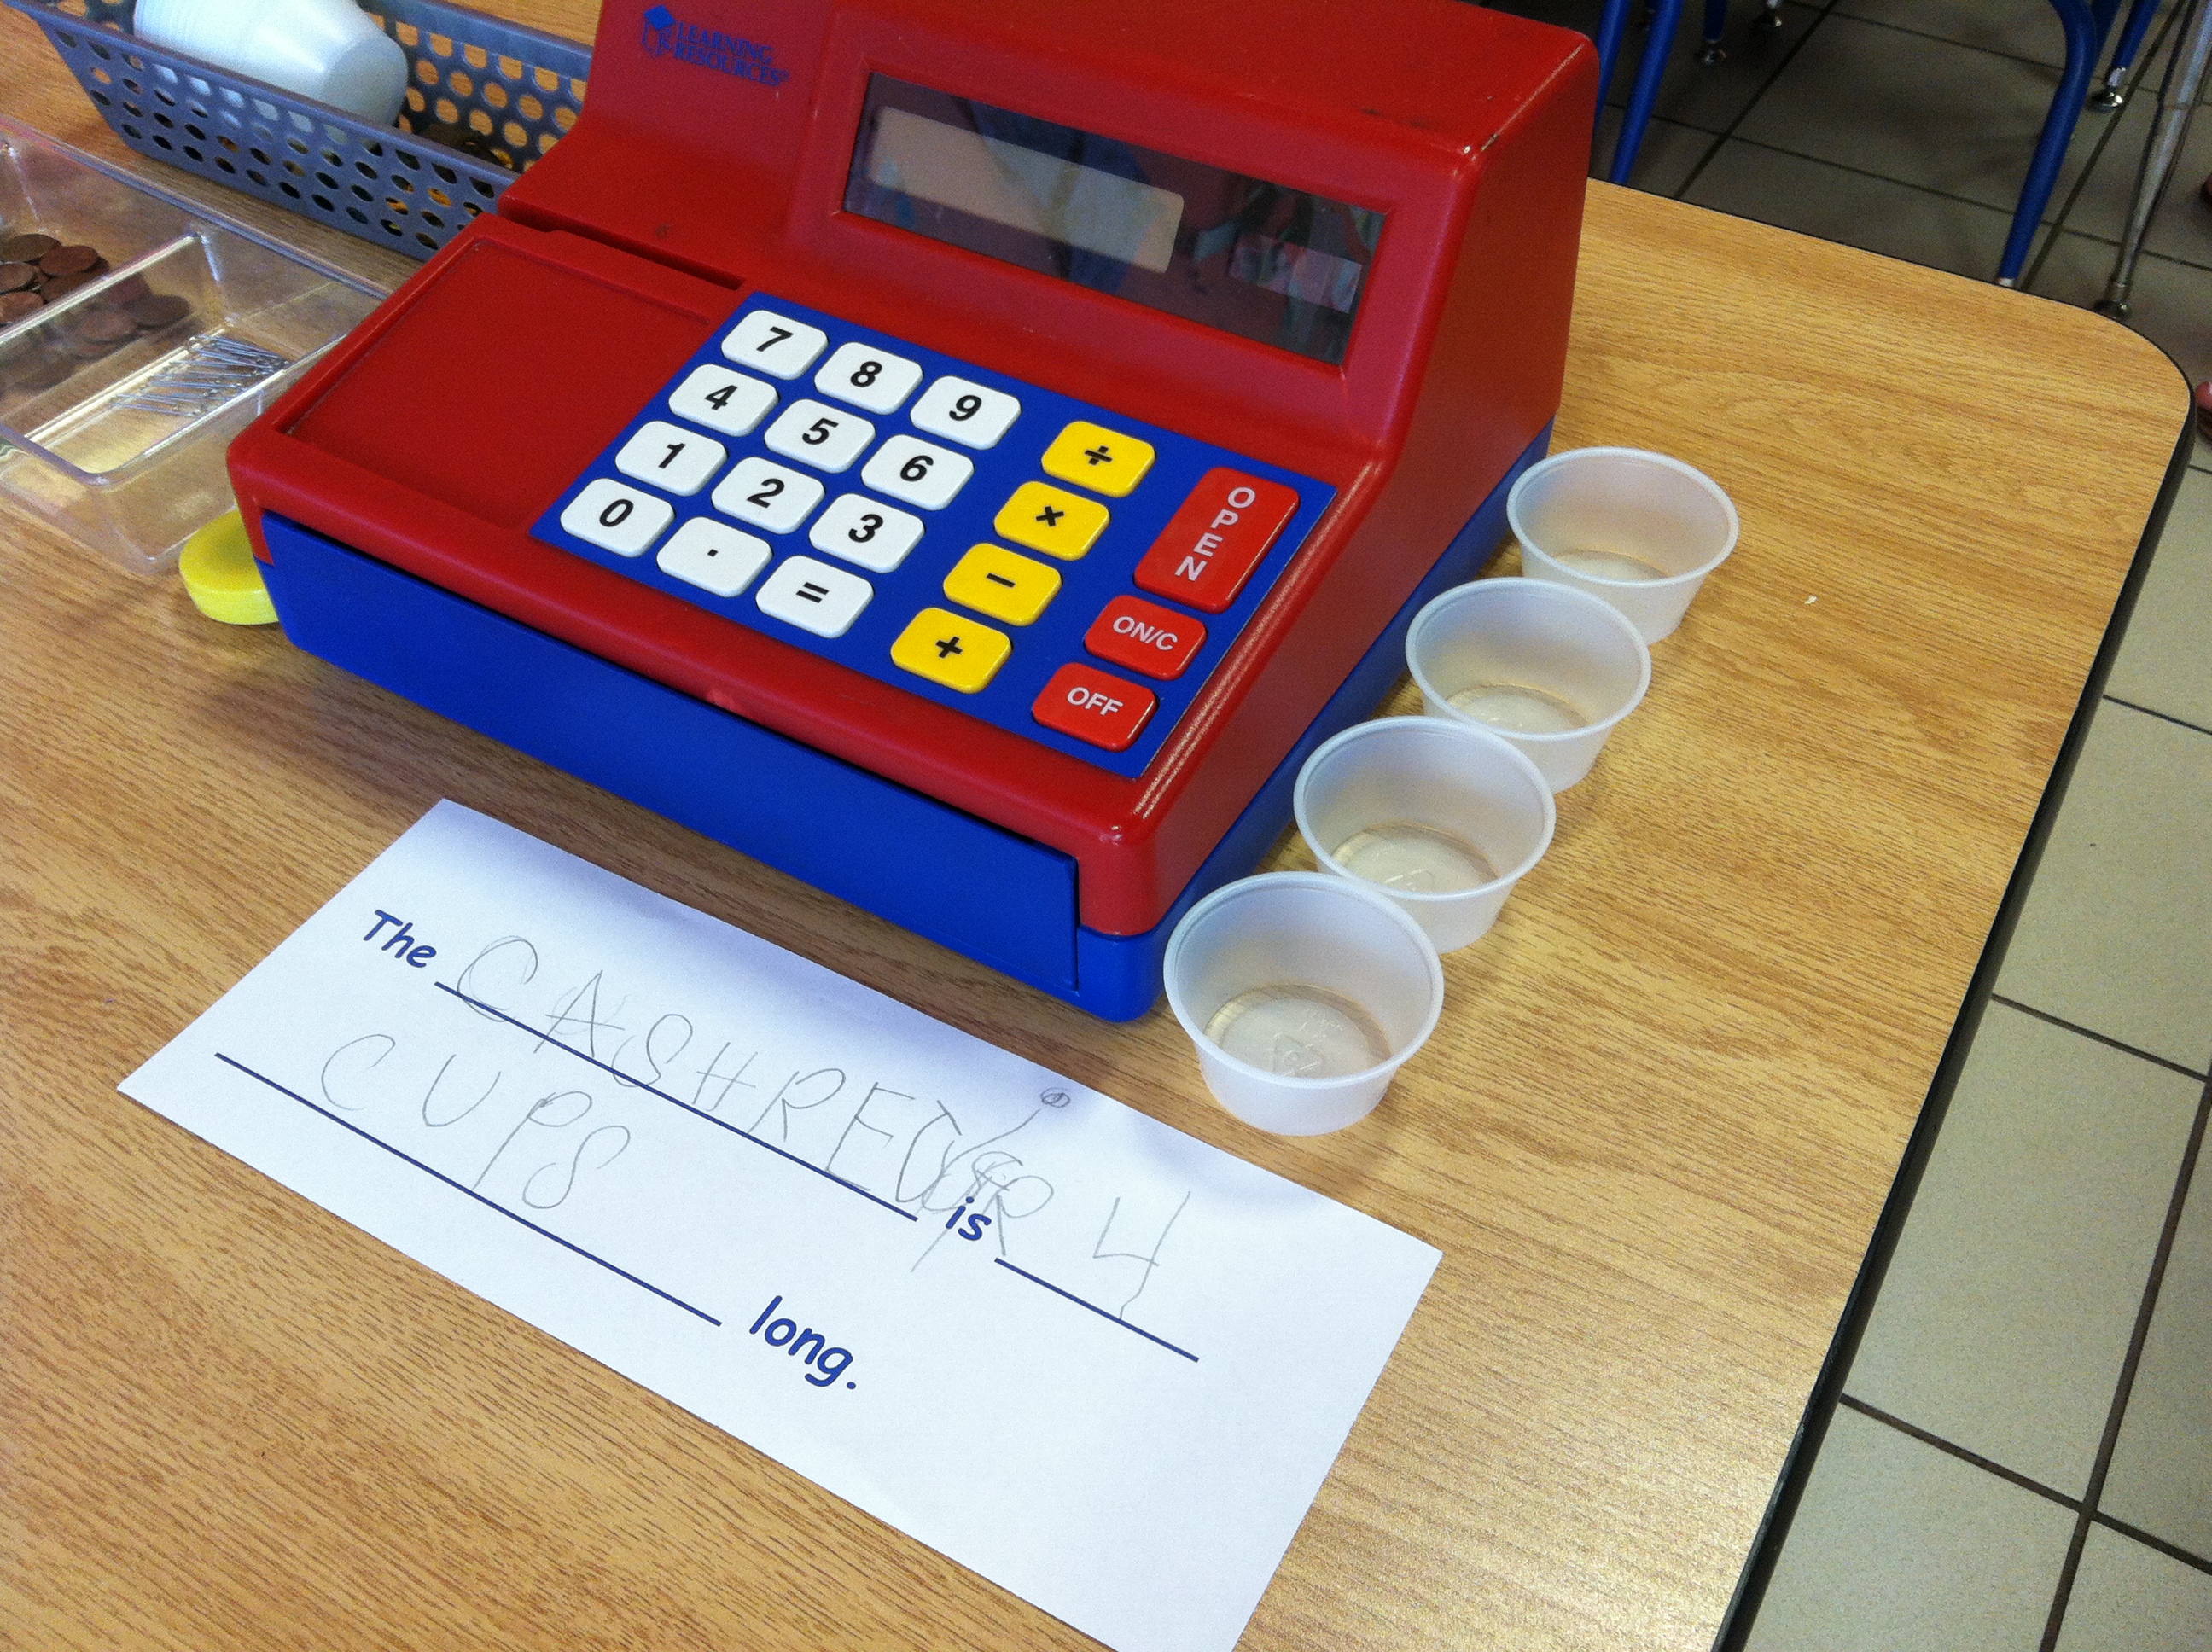
But I was most surprised by the ways that students skillfully incorporated academics, often without any encouragement. For example, students naturally took to negotiating the price of milk (something that we practice regularly). They also began counting coins and plastic chips while making their purchases.

Photo Jun 05, 9 03 43 AM

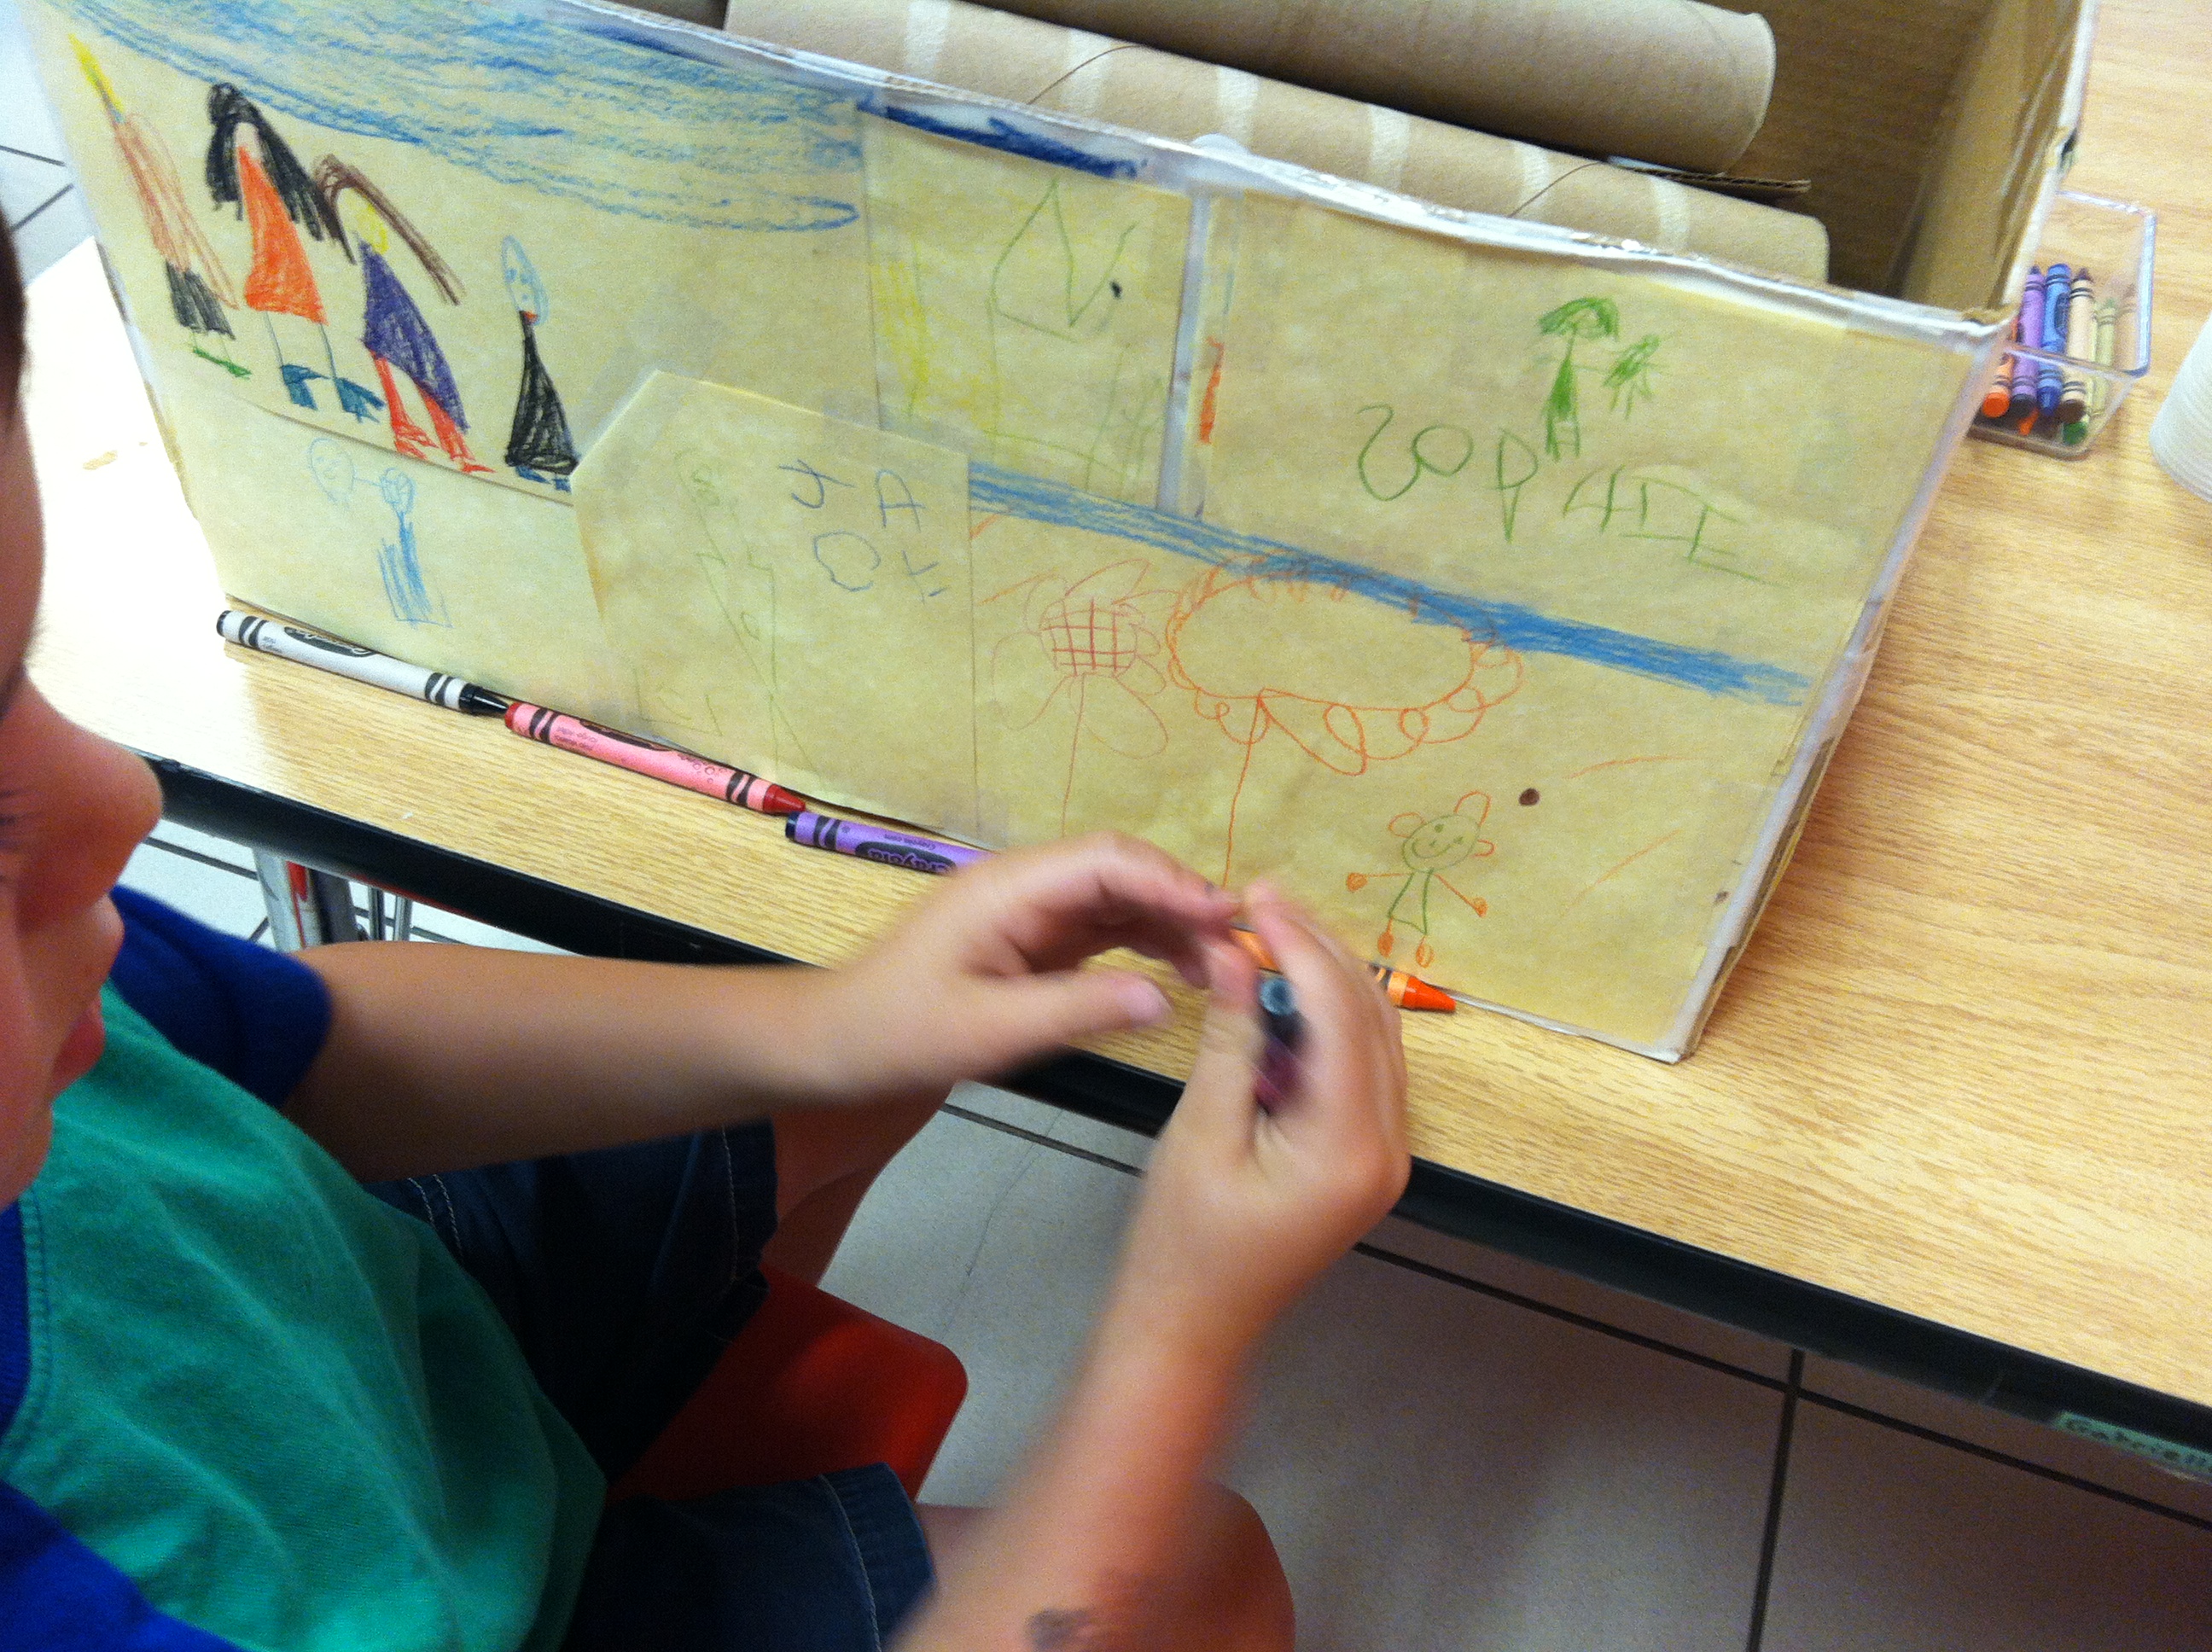
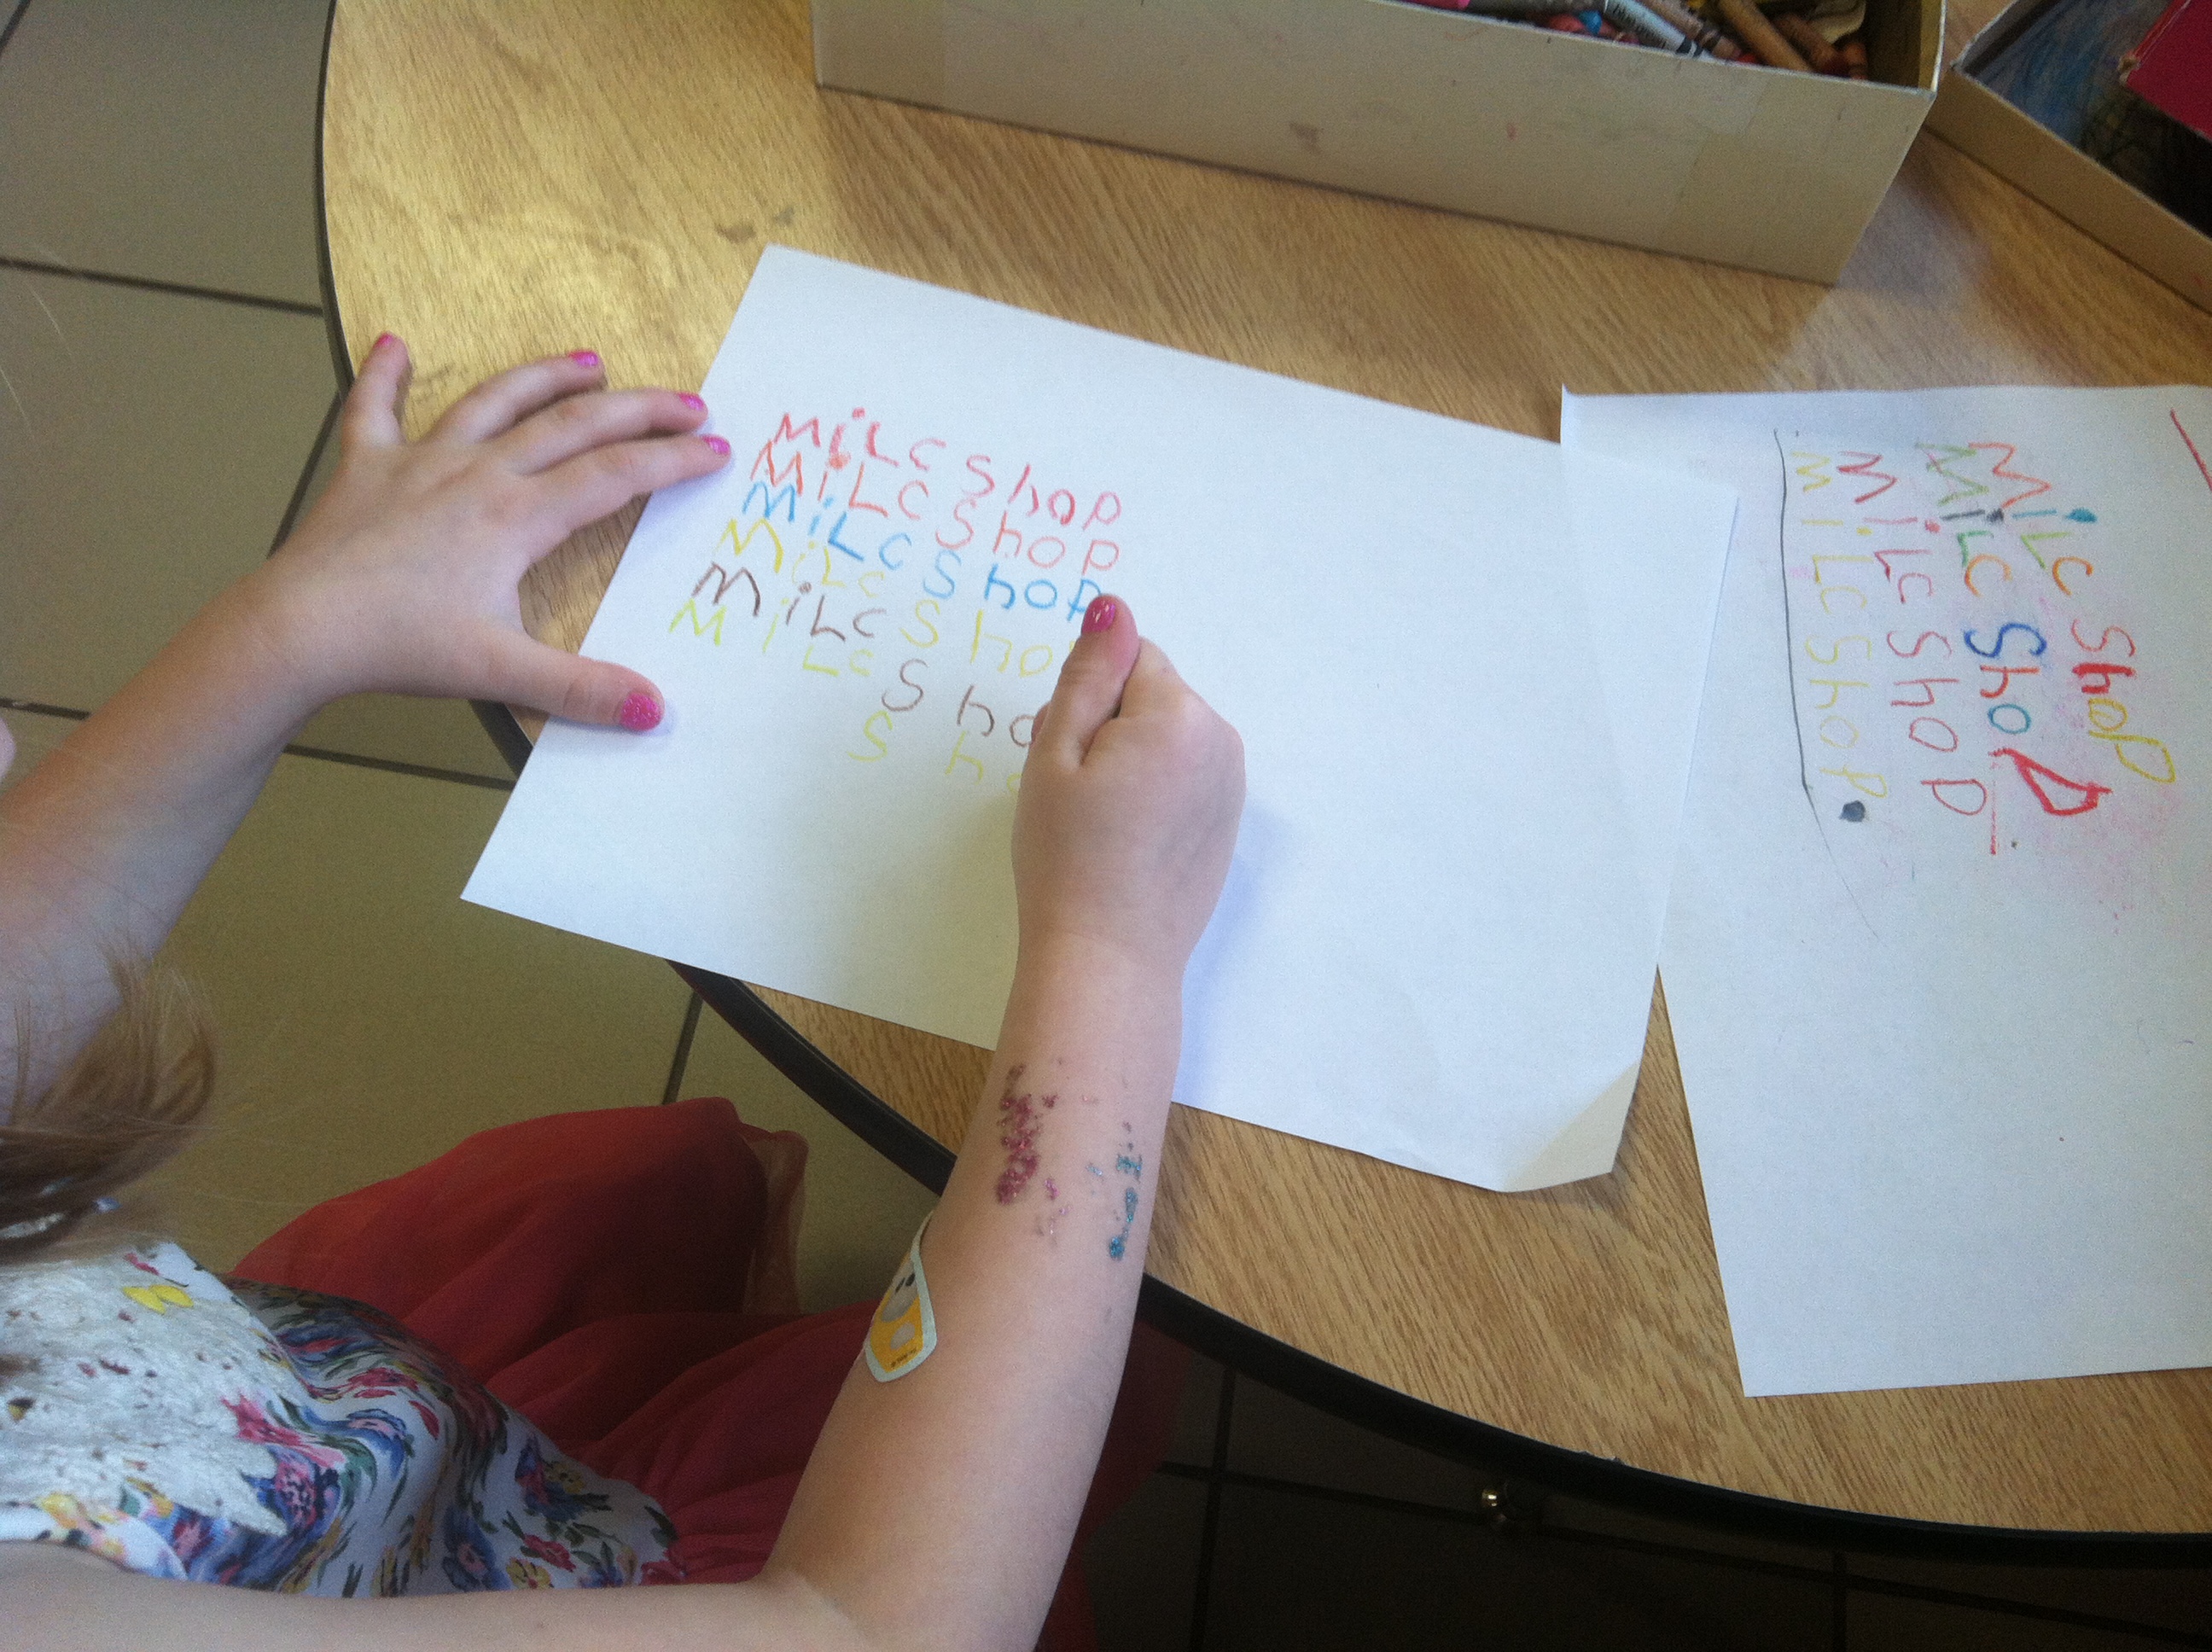
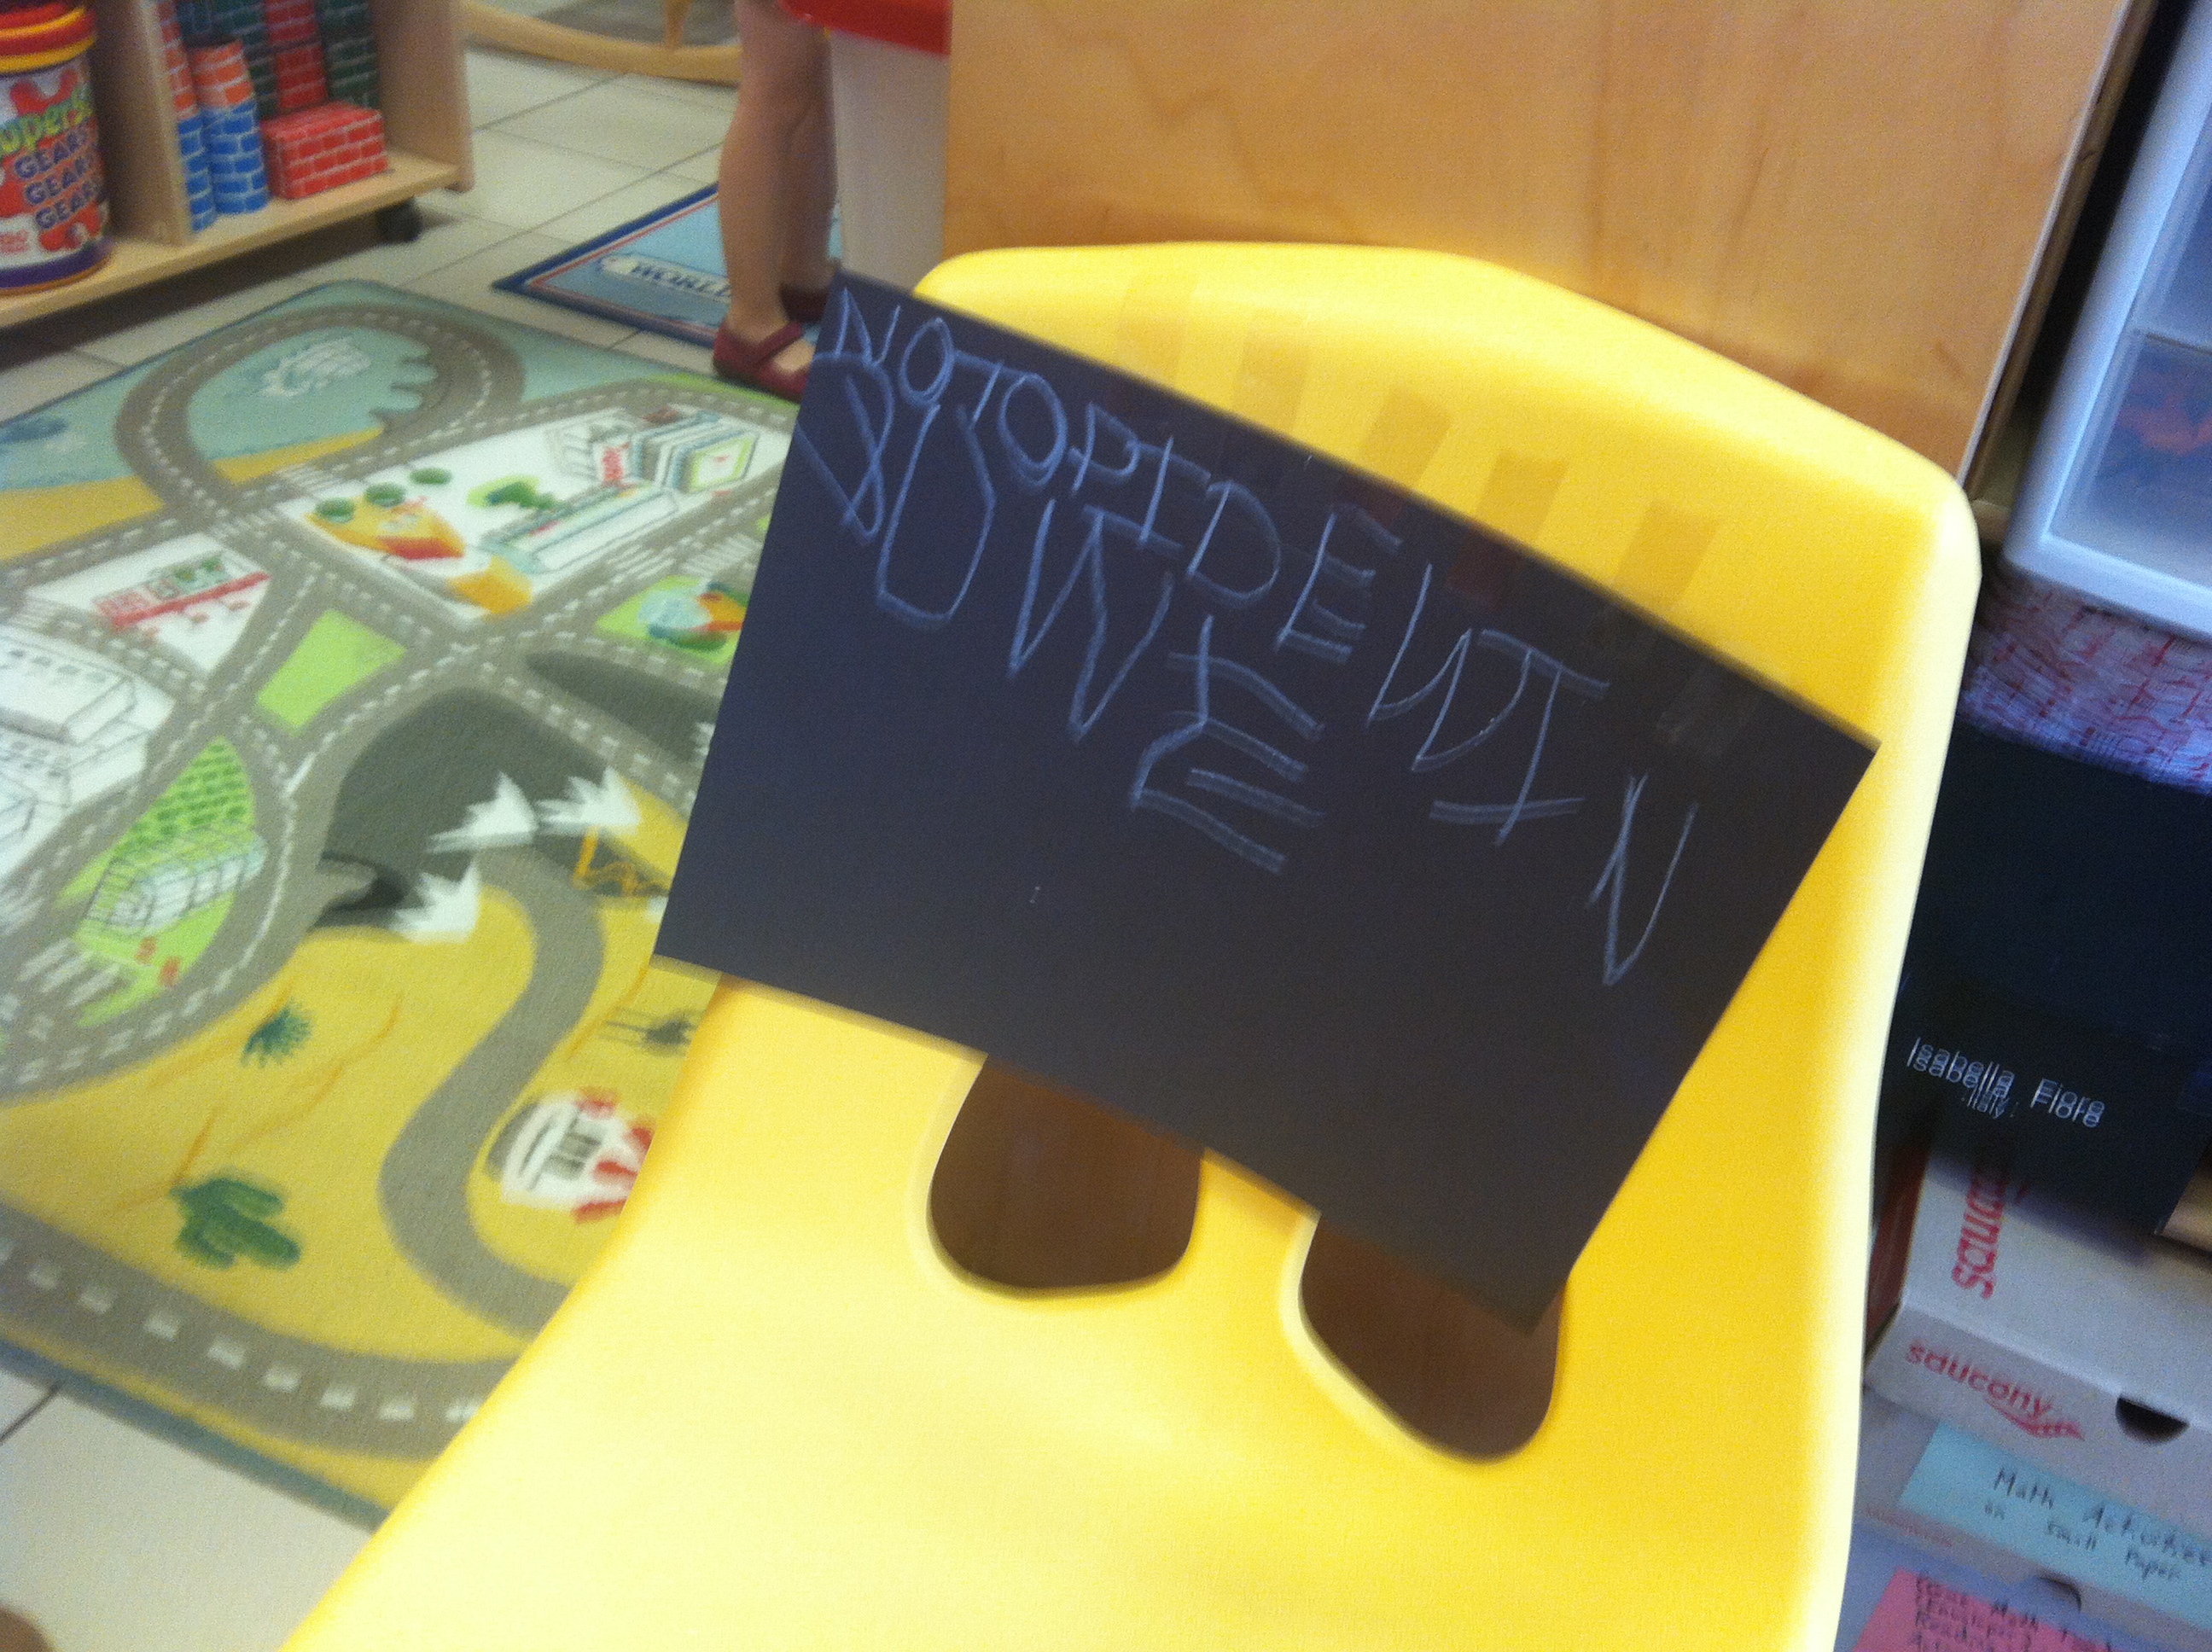
Then one student decided that the shop needed a sign. A few others agreed and they headed off to grab some art supplies. If this had happened back in the fall, each of these students would have asked me how to spell ‘milk’ and ‘shop.’ But this group has become so much more independent and confident since then that they made their signs without any support.

Photo Jun 05, 9 53 54 AM

Photo Jun 05, 9 03 34 AM

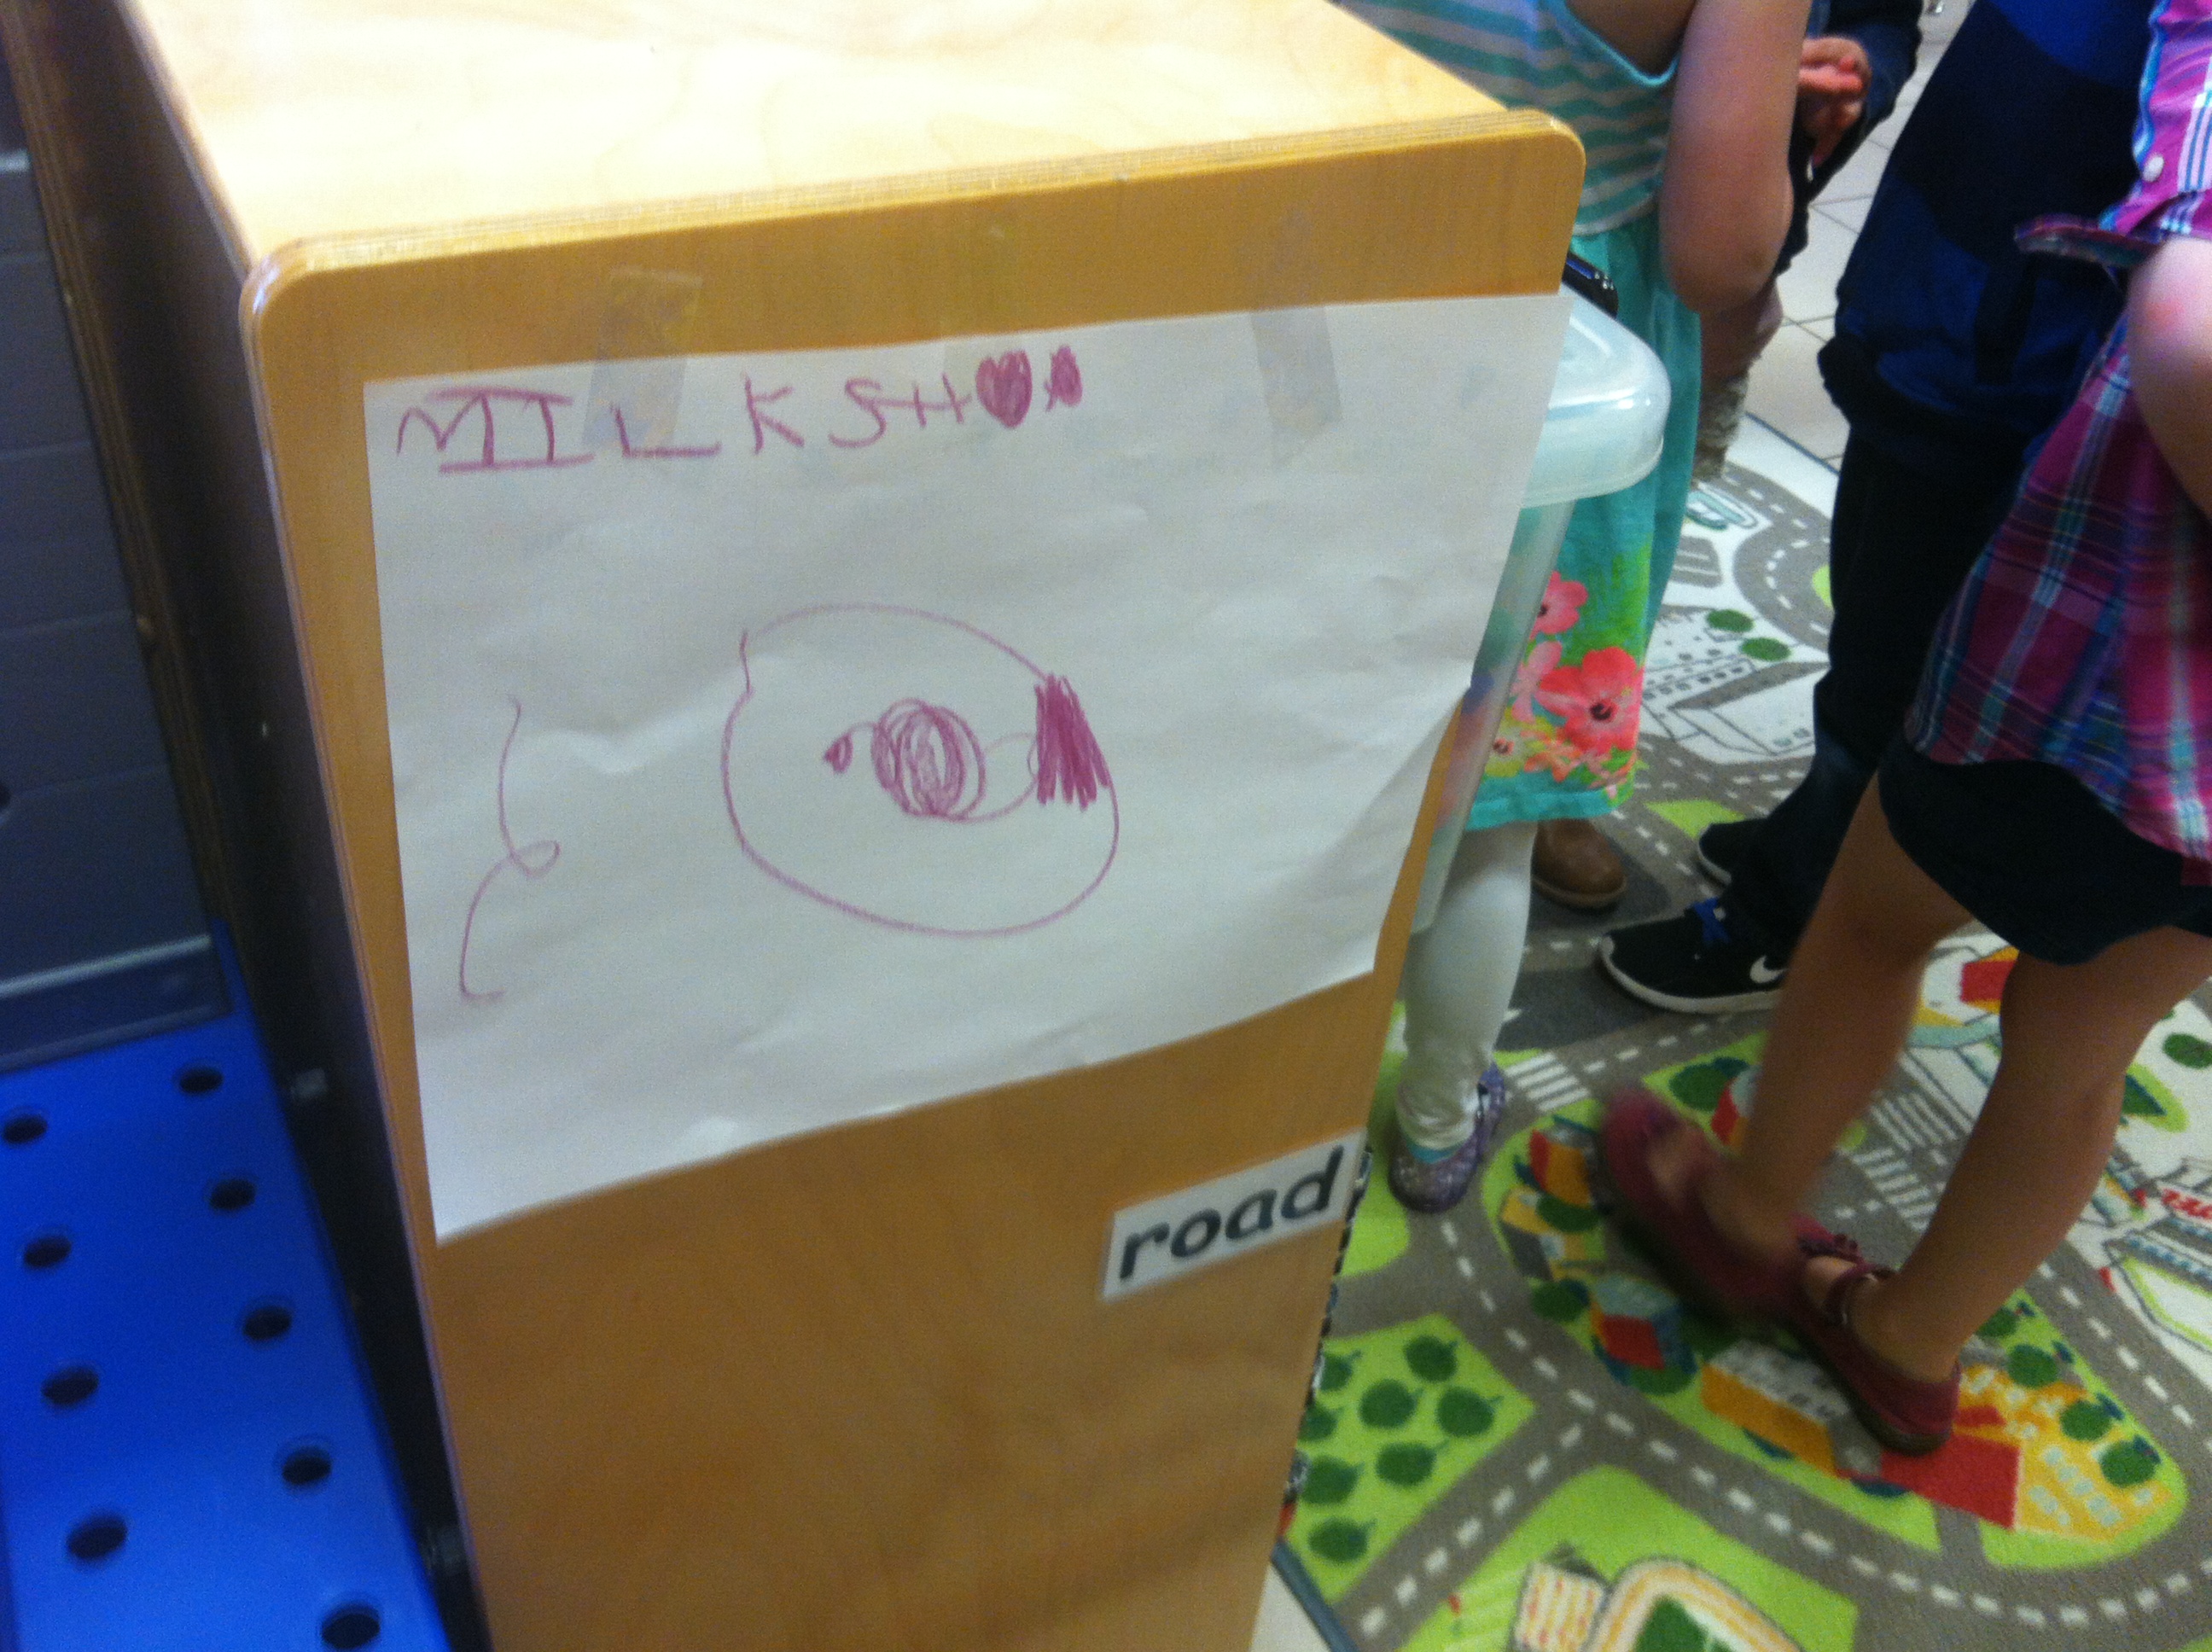
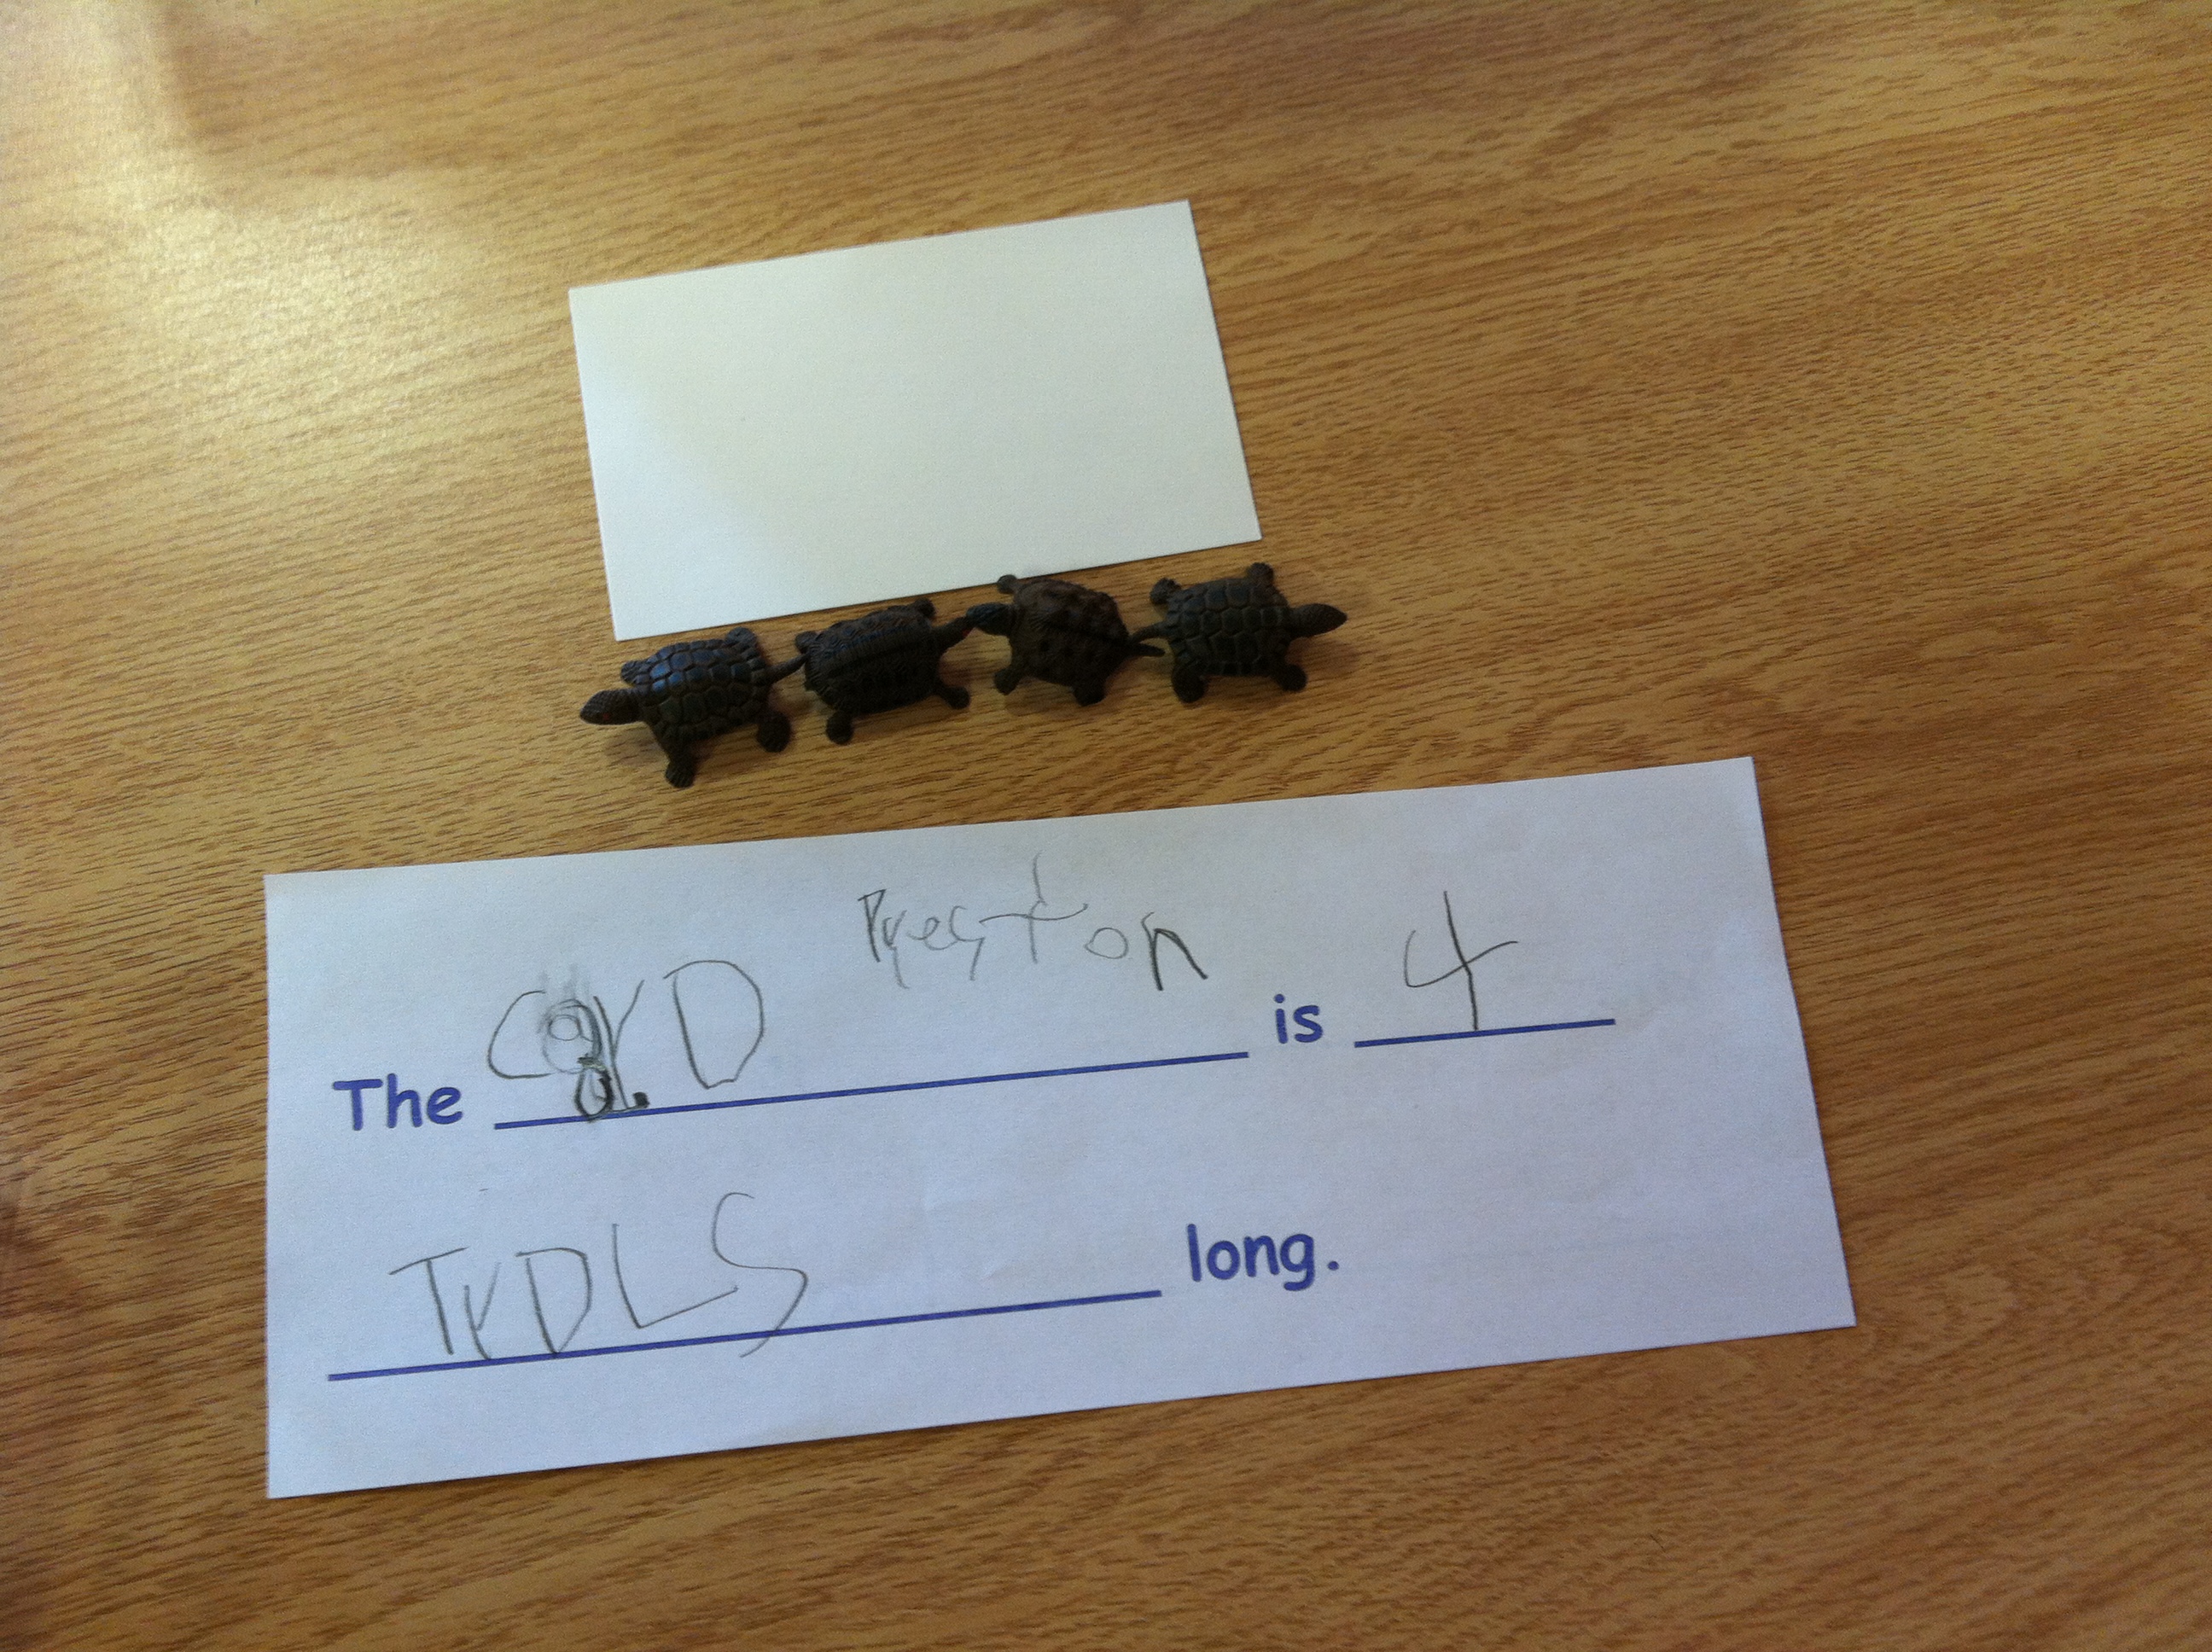
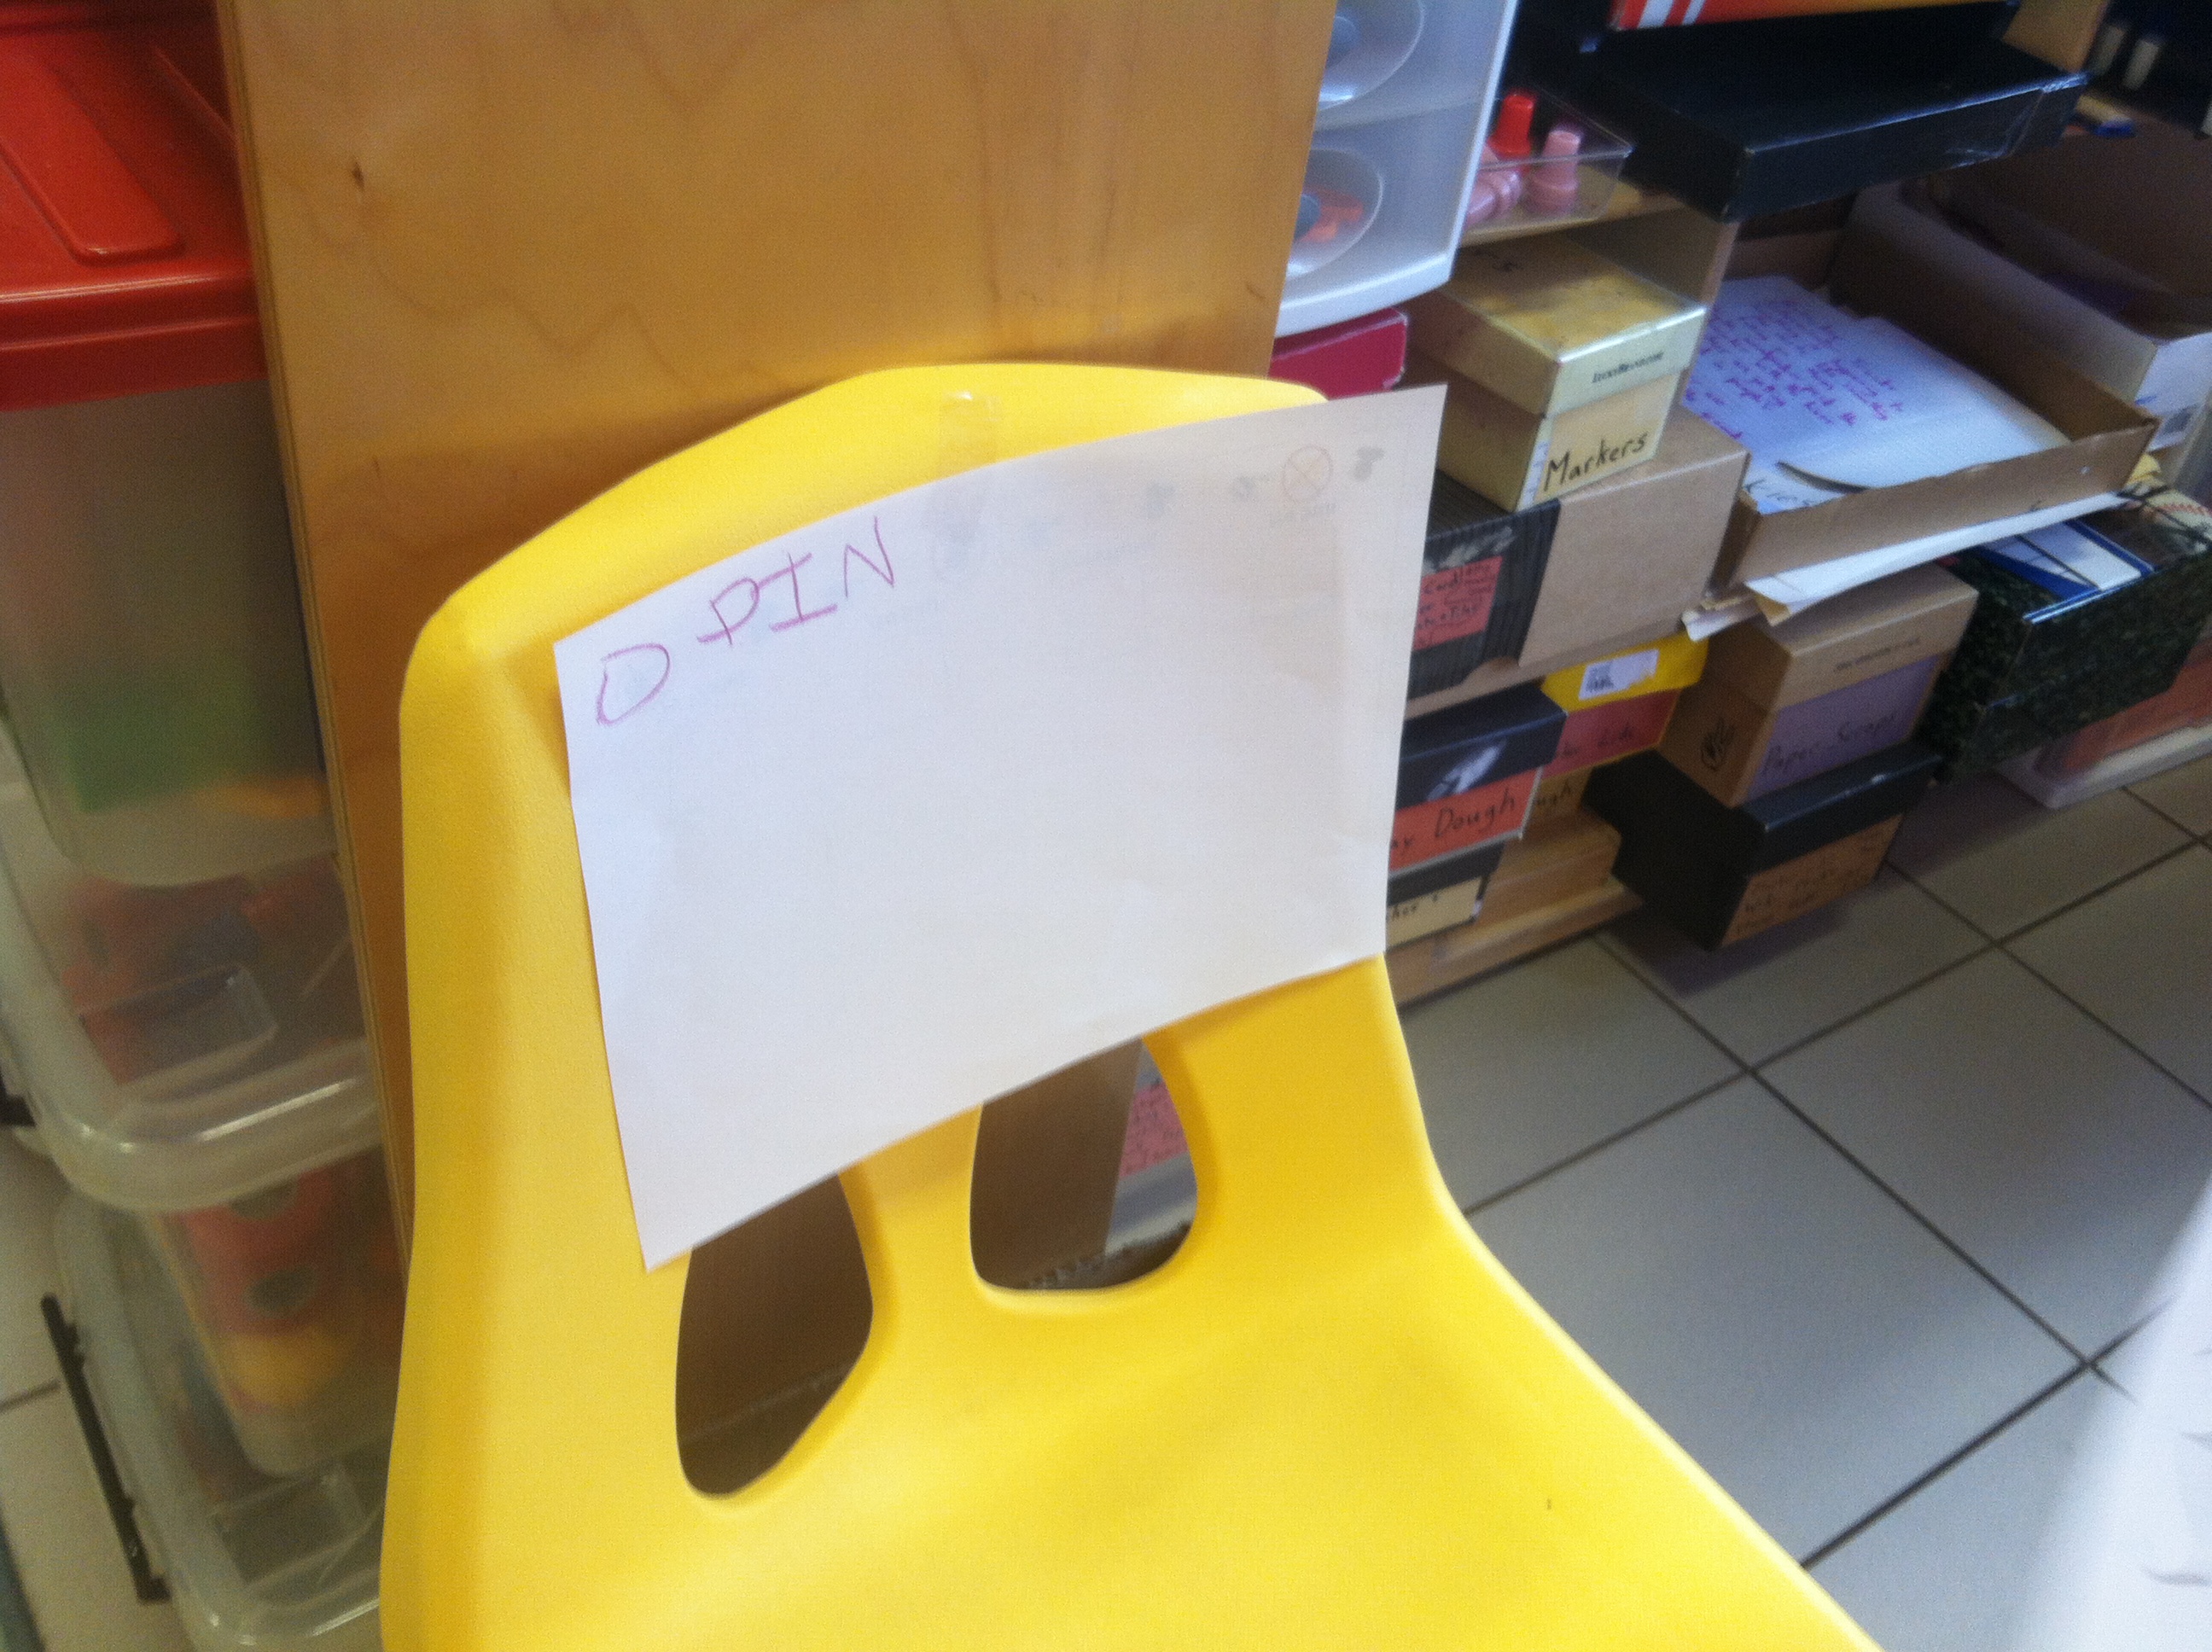
When the children decided to close the milk shop for a short while, another group of signs told customers that the doors would reopen at 4.

Photo Jun 05, 9 52 25 AM

Photo Jun 05, 9 52 30 AM

Photo Jun 05, 9 03 19 AM

As promised, when the (toy) clock struck 4, the doors opened once again.

Photo Jun 05, 9 05 08 AM

I have been feeling quite nostalgic recently, as I’ve recently announced that I am relocating to Washington, DC. I am going to miss my students, their families, and my coworkers quite a lot. This is but one example of the many memorable days I’ve had. I wish I had time to write them all down.

Spinning Tops: Integrating Math and Science

Photo Mar 25, 11 00 32 AM

Early this year, my students implemented an experiment to test how long various tops would spin. I wanted to devise an activity that would give children a chance to measure time in a meaningful way. Designing such an activity was a bit of a challenge. I needed a reproducible event that would vary in time length, but it couldn’t last too long. Thirty or forty seconds felt like a good maximum; students would likely lose interest in anything that took longer than that. It also needed to be captivating—something that was fun to carry out and that would address a question of interest to students.

Eventually, I settled on an experiment aimed at answering the question, “Which spinning top will spin for the most seconds?” I purchased a variety of plastic tops and tried manipulating them in various ways before deciding to build something from Legos instead. The four tops I built were much easier for children to spin than any of the toy tops I had purchased.

Students worked in pairs, over the course of about a week—one student spinning tops while the other ran the timer. (We had previously run a simpler experiment to get acquainted with the timer.) After each trial, students wrote the number of seconds they measured onto a post-it note and then stuck it onto a clipboard with a picture of the top. Most children drew comparisons without a prompt, but I occasionally ask questions such as, “Which top spun for more seconds?”

Photo Mar 25, 10 33 08 AM

I want to pause here to make an important point: post-it notes are fun. It didn’t occur to me until the experimenting began, but kids love sticky things. My students very much enjoyed writing down numbers and sticking them onto the clipboards. I had only hoped to mix things up a bit, but I discovered a great way to record data.

Photo Mar 25, 10 34 16 AM Photo Mar 27, 10 41 51 AM

There were a few goals I had in mind with this activity. One was to give children a little better understanding of time.  We often talk about time with children, but they rarely have a chance to measure and compare it.

Another goal was to give students a chance to use numbers in a new way. Time is an abstract concept for young children. But watching numbers change on a timer—each successive number appearing after another second passes—gives children a pretty clear idea of how numbers relate to each other. They can experience the difference between four seconds and fifteen seconds, which feels much larger than the difference between four seconds and five seconds.

A third goal was to demonstrate the use repeated trials in scientific experimentation. As is the case with many phenomena, our data varied between runs. Children spun the tops at different speeds and angles. A single trial could paint an inaccurate picture, so we collaboratively tested each spinning top many times—approximating what scientists often do.

Compiling Data

Making sense of our data presented a challenge. We had many numbers to look at, and at first there didn’t seem to be any clear trends. We certainly weren’t going to delve into statistics, but I wanted to create a visual representation of the numbers we had recorded.

I made four large number lines—one for each spinning top—and the children took turns going through each group of post-it notes, adding a small sticker on the number line next to each recorded number. Some numbers were difficult to decipher; beautiful handwriting shouldn’t be a prerequisite for learning to record data.  We threw that ambiguous data out—another aspect of research familiar to many scientists, as I pointed out.

Photo Apr 01, 10 30 19 AM

When all of the data were in place, we essentially had four histograms. It wasn’t immediately obvious to the children, but after a couple of guiding questions (e.g., “Which tops have more big number and which have more small numbers?”), most could recognize that two of the tops usually took more seconds than the other two.

Photo Apr 03, 10 00 49 AM

Photo Apr 03, 11 18 29 AM

Expanding my science lessons this year has shed light on the value of integrating early math and early science education. Imagine this activity as a science experiment without numbers, or as a math activity removed from the experimentation; either way it would fall flat.  But by combining both aspects, I facilitated an experience that was engaging and highly meaningful. When it comes to math and science, it seems clear that the whole is much greater than the sum of its parts.

Measuring Time With Young Children

IMG_6266

My class recently ran a peculiar experiment, centered on the following question: “Which type of ball will roll for the longest time after it’s dropped into a bowl?” My goal was to set up a simple, engaging activity that would give my students an opportunity to practice measuring time.

The Setup

For materials, I used a metal bowl and an assortment of spherical objects. I tried to gather objects of different sizes and materials, although I didn’t expect we would ultimately be able to make any convincing conclusions regarding what makes a ball roll longest.

Teaching my students to use a timer was somewhat challenging. We used a timer that shows whole seconds, without decimal points. However, it was still hard to read. The screen has extra zeros (e.g., 5 seconds looks like 0005), which often confused students. Also, the numbers are digital block numbers, which my students are largely unfamiliar with. The digital fives and twos were particularly difficult to distinguish, as they mirror each other—such reversals are very typical for young children.

Nevertheless, after a brief tutorial, all of my students were able to use the timer independently. They occasionally forgot what each button does, or misread “0003” as thirty, but they needed only brief assistance to get back on track.

Math Concepts

I introduced our timer by explaining that it measures seconds. When we press the start button, it starts counting upwards—one more number every time another second passes. A ball that rolls for just three seconds stops pretty quickly. But when a ball rolls for forty seconds, it takes a lot of time for that many seconds to pass.

Working with numbers in this way, albeit somewhat abstract, has some advantages. For one thing, it’s less passive than presenting a group of objects or some physical characteristics as associated with a particular number. With the timer, the numbers change, which is engaging and has new meaning.

Another advantage is that the progression of time naturally gives children a new way to conceptualize the relationship between numbers. As the timer counts up, they see increasingly larger umbers. They can watch as eight follows seven—it took longer to get to eight, so eight is clearly more seconds. I can’t say with any certainty that familiarity with such a context helps children compare numbers, but my hunch is that it does.

The Response

I was unsure how captivating this experiment would be. The question we were trying to answer wasn’t particularly exciting. If disinterest had settled in after a couple of days, I would have moved on, satisfied that we had learned how to use a timer (which has benefited us in subsequent experiments).

But to my delight, everyone loved it. The science center was constantly occupied, and children worked very cooperatively—usually, one student operated the timer while another released the balls. I took the opportunity to extend the lesson by introducing a chart for recording observations.

IMG_6300

Photo Feb 12, 10 32 11 AM

When I committed to expanding my science center this year, I knew that it would be difficult to consistently prepare experiments that students are capable of carrying out independently. Some of my efforts have misfired, while others have been successful. When it works, it’s often because children have plenty to do and plenty of options. Measuring time seems to meet those requirements. It’s an enthralling way to enhance early science and mathematics concepts.

Ambivalence Toward the Classroom Calendar

Photo Mar 23, 12 35 24 PM

Classroom calendars have been a mainstay in preschools and kindergartens for some time. You can find one in most classrooms. While some teachers have rejected calendar routines altogether, my feelings are more equivocal.

The daily calendar routine often represents a bit of a contradiction. Educators who scorn teacher-directed activities—or anything that has the flavor of direct instruction—paradoxically ask their students to sit and listen while they go over the calendar. If only one part of the day involves group instruction, then the calendar is a poor way to spend that time. It can become excessively repetitive, and its utility has limits.

However, calendar routines retain some considerable value. Here are some reasons I chose to keep the calendar but diminish its role, instead of removing it entirely.

Temporal Language

Young children often struggle to comprehend temporal language, yet we can’t avoid using such language with them. They ask “When?” question on a regular basis, and the words at our disposal—yesterday, next week, tomorrow, in the summer, last night, etc.—have limited meaning for young children.

That may seems an acceptable reality; generally, when a lesson is too challenging for children of a certain age, we simply postpone it. But young children are frustrated and confused by their failed grasp of temporal language. They want to know what is happening in their lives and when. If they’re better able to anticipate events, they can prepare for them, which gives them a sense of control, perhaps even fostering some self-efficacy.

A calendar is a great tool for teaching about the passage of time, of course. It’s a visual representation that gives children a feel for how quickly the days, weeks, and months pass. Whenever a question arises about when something has happened or will happen, we reference our calendar. It is particularly valuable when preparing my students for a change in routines. As one example, before my recent vacation, I pointed out to my students which days I would be gone and when I would be returning. It helped quell some anxiety.

Applying Math Skills

Although the primary goals of our classroom calendar are stated above, a secondary purpose is to practice math skills. The calendar isn’t a great tool for introducing math concepts, but it provides opportunities to apply skills that we have learned elsewhere. Here are a few notable examples:

  • We count aloud, as a group, while a designated student points to all the numbers that have already passed in the month. Learning to count requires repetition. I find that repetition is especially helpful with numbers in the teens. Counting together can also help children learn to count with one-to-one correspondence (saying one number for each item). Also, children have a chance to practice recognizing numbers.
  • When it’s time to add a number to the calendar, I ask a student to look at the previous number and figure out what comes next. I say, “What comes after 12?” or “What’s one more than 12?” Early in the school year, many students have to back up and count a string of numbers leading up to the number in question (e.g., “8, 9, 10, 11, 12… 13!”). After some practice, most students no longer need to do that. It’s an important skill—one that Common Core for kindergarten specifically addresses.
  • We often look at the calendar to figure out how many days remain before a holiday or event. For example, I might say, “Today is April 19 and Earth Day is April 22. How many more days until it’s Earth Day?” Once, I even wrote out the problem (19 + __ = 22), a very challenging yet throught provoking representation.

Our calendar is messy, with its seven-day weeks and its years broken into uneven months (there has to be a simpler way!), but it nevertheless offers a chance to apply numbers in a meaningful and engaging context.

Haggling: A Fun Way to Compare Numbers

Photo Mar 12, 7 01 40 AM

Maintaining a steady stream of engaging math activities is difficult. Math can become monotonous if there’s a lack of variety, yet children need to practice many skills repetitively before mastering them. So, my job is to regularly embellish basic skills lessons in unique ways. I must experiment and adapt regularly, because different groups of children have different interests.

A few years ago, as part of this tinkering, I decided to try a new game, wherein we pretended to negotiate the prices of classroom objects. The children loved it immediately, and it’s been a hit with every group of students I’ve had since.

I use only a pile of coins, a number line, and whatever objects I choose to purchase. I begin by discussing the number line, focusing on three points: the numbers are in order, from left to right; each number we count is one more (one bigger) than the number it follows; and the numbers are less (smaller) if we move backwards on the number line (to the left). Number lines are tools that I expose my students to regularly, so our discussion for the purposes of this activity is usually very brief.

Next, I pull out an object (it can be anything), choose a student and say something like, “I want to buy this from your store. Now, you want to get a lot of my money, so you want me to pay a really big number. I don’t want that. I want to give you less—a smaller number of coins.”

Then the negotiations begin. I scaffold it heavily at first, saying things like, “I’ll give you one penny for this. Is that enough? Or do you want me to give you more pennies?” I point to the numbers on the number line after each offer. When we use comparative language (i.e., bigger, smaller, more, less), I gesture toward the left or right side of the number line accordingly. After each agreement is reached—most children accept my second or third offer, if not my first—The group helps me count as I pull out the appropriate number of pennies.

To keep children engaged, I use dramatic language, such as “What!? Are you crazy? I don’t want to give you that much money!” or “That’s all that you want? Really!? That’s not very many pennies.” I also use somewhat repetitive language. I often say the same thing two or three times in a row, but with slightly different words, interchanging words like more/less and bigger/smaller. I might say, “That number is too big for me. I want to pay less. I want to give you a smaller number of pennies. What if I give you a much smaller number, like two pennies?”

As the year progresses and my students develop more advanced math skills, I incorporate additional challenges. Instead of using a number line with numbers 0-20, we might reference a chart with numbers up to 100. Or, after we’ve had some practice with the concept of place value, we might use dimes and pennies to count by tens and ones as I’m preparing to make purchases.

Conceptual pedagogies aside, I mainly attribute the consistent success of this activity to the playful nature with which we carry it out. It offers many opportunities to alternate between silly jokes and math practice. Once, I purchased a student’s shoes, sending the entire class into a giggle fit. So, of course, I then pretended to be in a shoe store and went on to negotiate the purchase many more pairs. Young kids are an easy crowd, once they get to know you. Any time you can make them laugh while they’re learning, you’re doing pretty well.

Unraveling Developmental Standards

Photo Sep 15, 10 59 50 AM

I recently took the time to unravel some developmental standards. I often share a list of standards with my students’ families, so that they know how their children compare to expectations. With a round of parent/teacher conferences approaching, I decided it was time to revise what I had been passing along.

As a pre-kindergarten teacher in Illinois, there are two main sets of standards that I regularly reference: the Illinois Early Learning and Development Standards (IELDS) and the Common Core State Standards (CCSS) for kindergarten. Much of the IELDS is below the level of my average students, whereas the kindergarten CCSS contains many standards that are very challenging. I try to be mindful of both, because my students generally fall somewhere between the two sets, and because I want my students to be prepared for what they will encounter after my class.

Reading through the standards is valuable but difficult. Doing so reminds me of areas I could better address with my students, and topics I should more deliberately incorporate. But the standards are lengthy, sometimes repetitive, and often difficult to navigate. The CCSS is on the Common Core website, but not as a single document; one must navigate various links to gather all the information. The IELDS is a prodigious 134 pages (pdf); I would not expect many educators to read it, much less parents.

To make things more manageable, I compiled the text of the standards into single documents (which took much longer than I anticipated). Next, I made a page on my website where that text can be viewed (or downloaded as Microsoft Word documents). Then I pared down and compiled the standards into a list of benchmarks that I want my students’ families to be most aware of. I also provide links to the full lists, for those ambitious and curious parents who want to read all of the standards.

Illinois Early Learning and Development Standards

Common Core State Standards – Kindergarten

Enjoy!

Math Play: Making Materials More Easily Accessible

I recently created another space in my classroom that is dedicated to math materials. I rearranged the classroom, mainly to make room for an expanded science center (more on that soon). Where the science area had formerly been, I had an opportunity for something new.

I often have mixed feelings regarding whether to rearrange my classroom. It can be hard to anticipate how children will interact with new spaces. I worry that the things I choose to replace in fact are valuable, and it’s unlikely I’ll ever know the truth. However, the reorganization process is valuable. It forces me to thoroughly consider how the classroom is being used and how to make more out of the space we have. As compared to teachers in older-age classrooms, preschool and kindergarten teachers spend a lot of time making major and minor adjustments to classroom design. I postulate that many teachers in higher grades stand to benefit from a bit of preschool mentality in that respect.

At any rate, my goal with the newly emptied space was to encourage students to use more early math skills during their dramatic play. The space is located near the toy kitchen, the dolls, the large animals, and the dresser. Consequently, students had previously been using the science tools (e.g., magnifying glasses, items from nature, measuring tapes, etc.) in their imaginative play scenarios. I reasoned that math materials put in that same space might similarly be incorporated.

I gathered various items — number tiles, various dice, a clock, calculators, a large abacus, pennies, a number puzzle — and placed them in what I hoped would be an attractive arrangement. So far, it seems to be a success. As I had hoped, children are regularly using most of the items I put out. Sometimes they’re used as random accessories (e.g., calculators being used as telephones), but I have observed children counting pennies, rolling dice, matching number tiles, and employing other functional math skills while engaged imaginative play. As the novelty fades, I expect those behaviors will be somewhat less frequent, but I think this new math area will remain a good method of enhancing my students’ early math skills.

math area 3

math area 6

math area 4

math area 1

math area 7


Inverting Addition and Subtraction with Triangles

Each year, by summer, my students are pretty comfortable with addition and subtraction. They can solve both types of problems using various methods, and they can apply the concepts in many contexts. This year’s group was particularly prepared for a challenge. So I decided to spend some time teaching the interrelatedness of addition and subtraction. I chose to scaffold the idea using simple equilateral triangles, as many other teachers have done.

We began by checking to make sure that some completed triangle cards were correct. (I used these triangle flash cards, but I have since made my own, which you can access at the bottom of this post.) We looked at the number on top, pulled out that many coins, and then split the coins into two groups according to the numbers on the two bottom corners. That was a breeze. Everyone was able to do it with surprisingly little support.

IMG_2545

The following week, we started making some of our own triangles. We pulled out some number of coins, wrote that number on top corner, divided those coins into two smaller groups, and then wrote those numbers on the bottom corners. This activity went smoothly, too. Some children became confused, but after one or two reminders, they were able to complete it independently.

IMG_2763

The week after that, I put out some triangles with a number missing on one of the bottom corners. Now, students counted out the number on top, then separated the number provided on one of the bottom corners, thereby revealing what would need to be in the other corner. This was a little trickier, but most students found it manageable.

IMG_2997

Finally, we incorporated written addition and subtraction problems. We used coins to help us fill in the blank triangles on top of the page, as we had done previously. Then, looking the numbers in the triangle and/or the coins on the table, we filled in the blanks in addition and subtraction problems.

We did each type of activity as a group multiple times before trying it in our centers. As I explained the concepts, I carefully arranged the coins and I used many hand gestures. Here are examples of some of the language and gestures I used:

I’m going to get out 6 coins, so I’ll write a 6 on top. Now I’m going to break it apart. I’m putting 4 over here, which means I have how many on this side?… I am going to write 4 and 2 in the bottom corners. I can make a plus problem with these numbers. I can take the 4 [holding my hands above the 4 coins], and get 2 more [hold my hands above the 2 coins]. How many do I have together [making circular movements over both groups]?… I can also make some minus problems with these numbers. If I start with all 6 [gesturing over all of them again], and I take away these 4 [covering up the 4 coins], then how many are left [pointing at the 2 coins]?… Or I can start with all 6 [gesturing over all of them once more], take away these 2 [covering up the 2], and I’m left with…

Occasionally, I repeated the same language while gesturing at the numbers in the triangle instead of the coins in front of us.

For most of my students, this final activity was difficult. They seemed overwhelmed by the many steps they had to follow. However, a handful of students were able to put all of the pieces together independently.

Photo Aug 06, 10 55 06 AM

Photo Jul 28, 11 03 56 AM Photo Jul 29, 10 30 44 AM Photo Jul 29, 3 09 43 PM

Heading into this lesson, I was well aware that we would be working with some pretty challenging ideas. In order to really grasp the interrelated nature of addition and subtraction, children need a somewhat abstract understanding of numbers and also a good early understanding of addition and subtraction. My students were pretty far along in both of those areas, so I decided to challenge them.

I often seek new ways to practice basic skills while simultaneously touching on more advanced concepts. It has become a pillar of my classroom approach. While only a few of my students could competently demonstrate that they understand the relationship between addition and subtraction, I believe the others have been well primed. And they all got some practice counting, breaking numbers apart, and putting numbers together.

Below are links to the (pdf) files I created for this lesson, which you are welcome to download and use in your classroom or with your children.

Probability in Preschool

This summer I decided to take on the challenge of teaching my students about probability. Why, you might ask, would I teach such a difficult concept to such young children?

For one thing, probability is not something that comes naturally to most people. Our brains don’t seem predisposed to think logically about chance. We make mistakes on a regular basis, resulting in more danger and discomfort than we would otherwise endure. If we peer into the world of physics, quantum mechanics tells us that probability is part of the very nature of the universe, a truth that eluded Albert Einstein. (If only he had me as a preschool teacher…)

Despite our less than stellar reputations dealing with chance — ahem, gambling — we use the language of probability all the time. We talk to children about what might happen, or what will probably happen. And every kid is familiar with the dreaded ‘maybe’ response, which usually (probably?) means an impending ‘no’.

Now, I don’t expect my young students to fully grasp the concept of probability. I don’t know whether it’s a concept they can even begin to grasp. But if I want them to get there eventually, an early introduction could be valuable. Perhaps they will benefit from it later in their lives. Similar logic pervades my practice. I often introduce difficult concepts that I do not expect my students will fully comprehend. I tell them that it’s okay if they don’t quite understand, and that they’ll learn more when they’re older. That forward outlook is a part of my approach to teaching.

How Did I Teach Probability?

My method was pretty standard: put a bunch of things in a hat and then repeatedly pull one out. At first, I used differently colored toys. We took turns pulling toys out, while I provided constant reminders about our chances, saying things like, “We don’t know what’s going to happen, but we will probably get a blue one, right?”

IMG_2453 IMG_2452

IMG_2451 IMG_2450

Then, we talked events in our lives. We sometimes know what will probably happen, but we can’t always be sure. People often talk about things that might happen and things that maybe will happen. A few examples I brought up are: it might rain today; your balloon might pop; maybe you will win a board game; you might get sick if you eat too much candy.

A Slightly Different Approach

In a follow up lesson, a couple of weeks later, I took a slightly different approach. I wanted to use something more meaningful than colors, so I cut out pictures of cupcakes and banana peels and stuck them to the toys we would be drawing.

We used two different hats this time. We looked at what would be in each hat, and then we made a decision about which hat would give us a better chance of getting a cupcake. Then we took turns drawing from the hat we had chosen. Even though we made good decisions, we still ended up with a banana peel from time to time.

IMG_2586

1 Cupcake, 5 Banana Peels vs. 5 Cupcakes, 1 Banana Peel

IMG_2585

1 Cupcake, 10 Banana Peels vs. 1 Cupcake, 2 Banana Peels

After many turns drawing cupcakes (“Yay!”) and banana peels (“Oh well”), we talked about another real life example. I asked the kids why we wash our hands. They confidently replied, “So we don’t get sick!” However, I pointed out that we might get sick even when we wash our hands, just like we might get a banana peel even if there are many more cupcakes in the hat. Washing our hands gets rid of germs, which makes it so we probably won’t get sick. It’s kind of like having fewer banana peels in a hat.

How did it go?

With quite a bit of scaffolding, my students were able to demonstrate some early understanding of the concepts. They could determine which items we were most likely to draw, while also recognizing that there is uncertainty — that we may end up with something improbable. Some of our discussions were pretty abstract, especially the discussion of hand washing. I’m not sure if any of that really stuck. It’s hard to say. We have since moved on to other lessons. I haven’t dedicated any time or effort to assessing the depth of understanding we reached. Nevertheless, I consider it a success.

Credit goes to Emily Conover, who convinced me to try this experiment. Check out her blog, Weak Interactions.

Measurement With Wacky Units

We spent a couple of weeks this summer measuring the lengths of various objects in our classroom. We had previously tried a number of measuring activities with simplified inch rulers. My students already understood that longer objects have bigger numbers associated with them. But I want to foster an early understanding that a measurement of length implies some number of equally-sized units stretched end-to-end, and that the number we end up with depends on the size of those individual units.

That’s a pretty abstract concept for a young child, so we made it more concrete. Instead of using inches and centimeters, we measured lengths with crayons, pennies, cups, paper clips, legos, cards, and toy turtles.

IMG_2804   IMG_2803

IMG_2800   IMG_2820

Incorporating Literacy Skills

Because I’m always looking for ways to incorporate literacy skills, we also wrote the words for what we measured. We used this simple page (pdf) to write the measured object, the number of units, and the type of units. It took a little bit of scaffolding at first, but the kids caught on fast.

IMG_2811  

IMG_2864

IMG_2862

IMG_2834

IMG_2831

Inches and Centimeters

Late in the week, we pulled out rulers and tape measures. We looked at how much bigger inches are than the centimeters. That means it takes more centimeters to get from one end of an object to the other, just like it takes more pennies than crayons. With that in mind, we measured a few objects the old fashioned way.

IMG_2840   IMG_2866

IMG_2863